Introduction
With consumers' increasing demand for personalization, cables have moved beyond traditional black and white colors and now come in different colors of woven threads, providing consumers with more choices. In order to improve the feel of the cables, ultra-soft silicone cables have appeared on the market, with a silicone material outer layer making the cable softer and providing a better user experience. And today, we will take apart a DIY Thunderbolt 4 cable to see how it differs from USB-C cable from brands.
Product Appearance
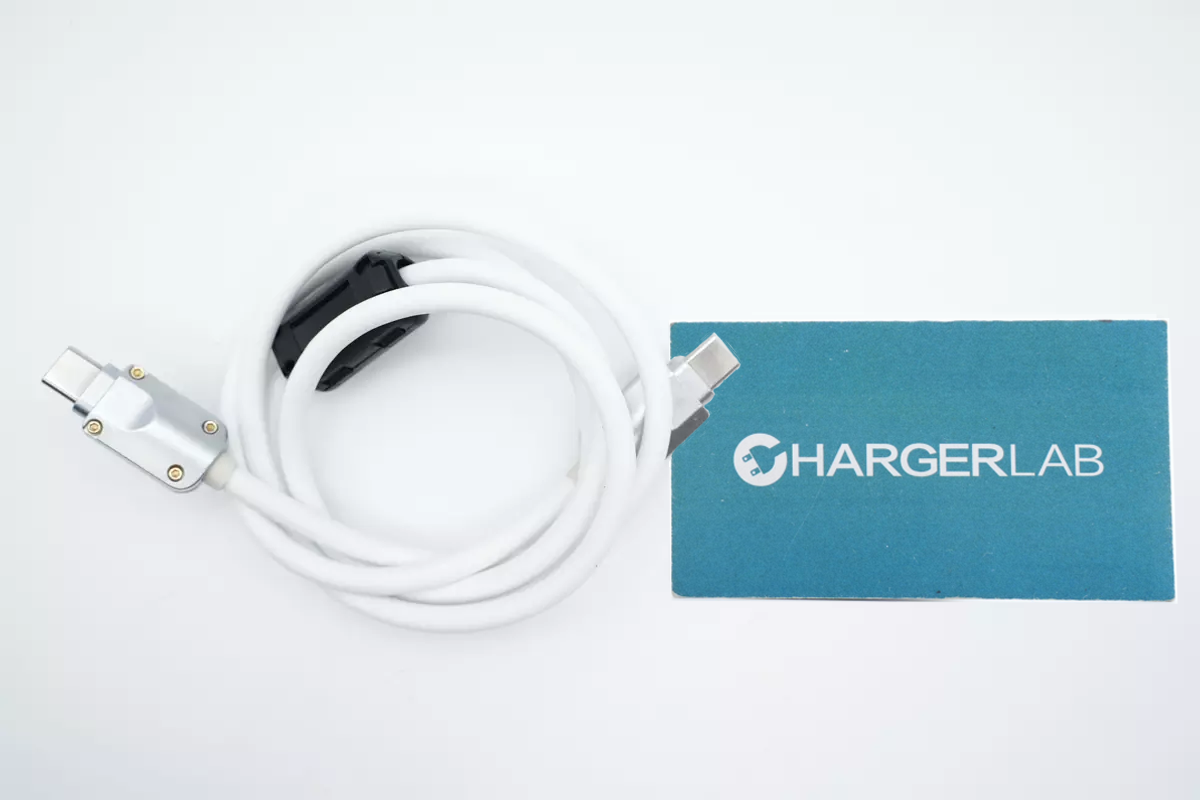
This is a very thick cable, and it gives the impression of being very sturdy
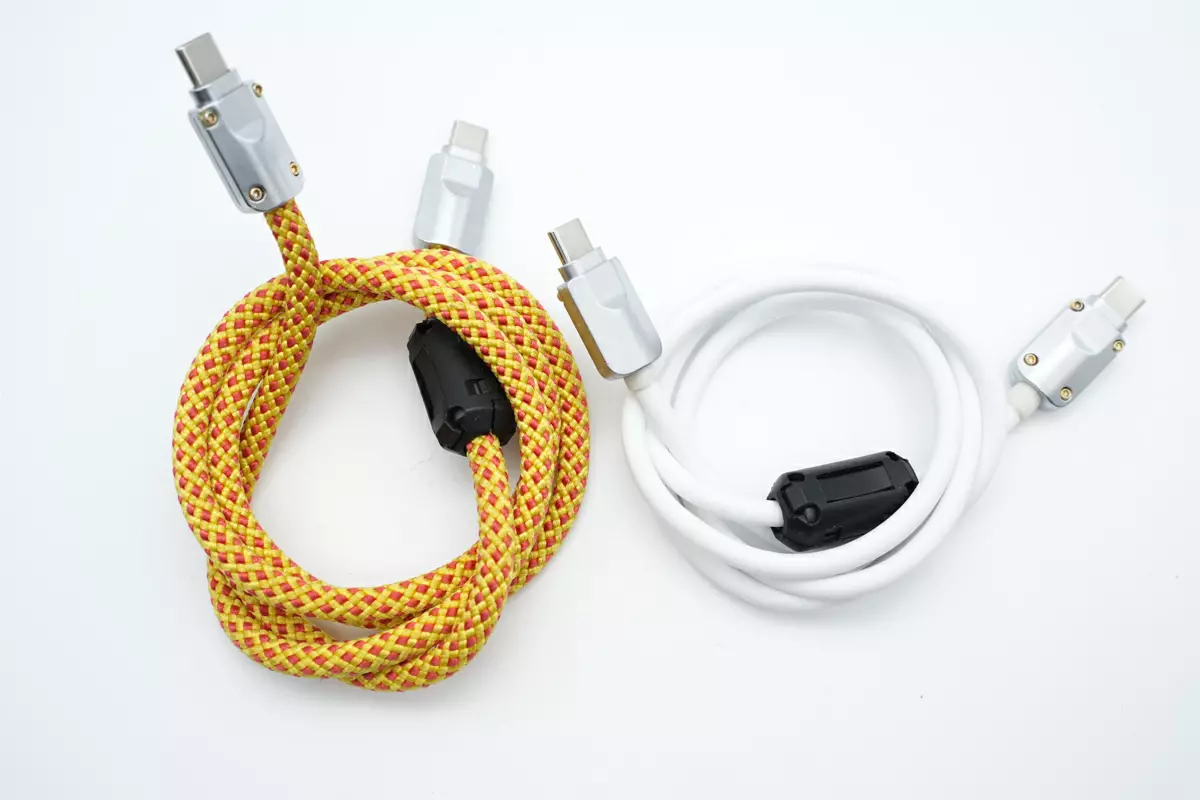
It also has a braided version.
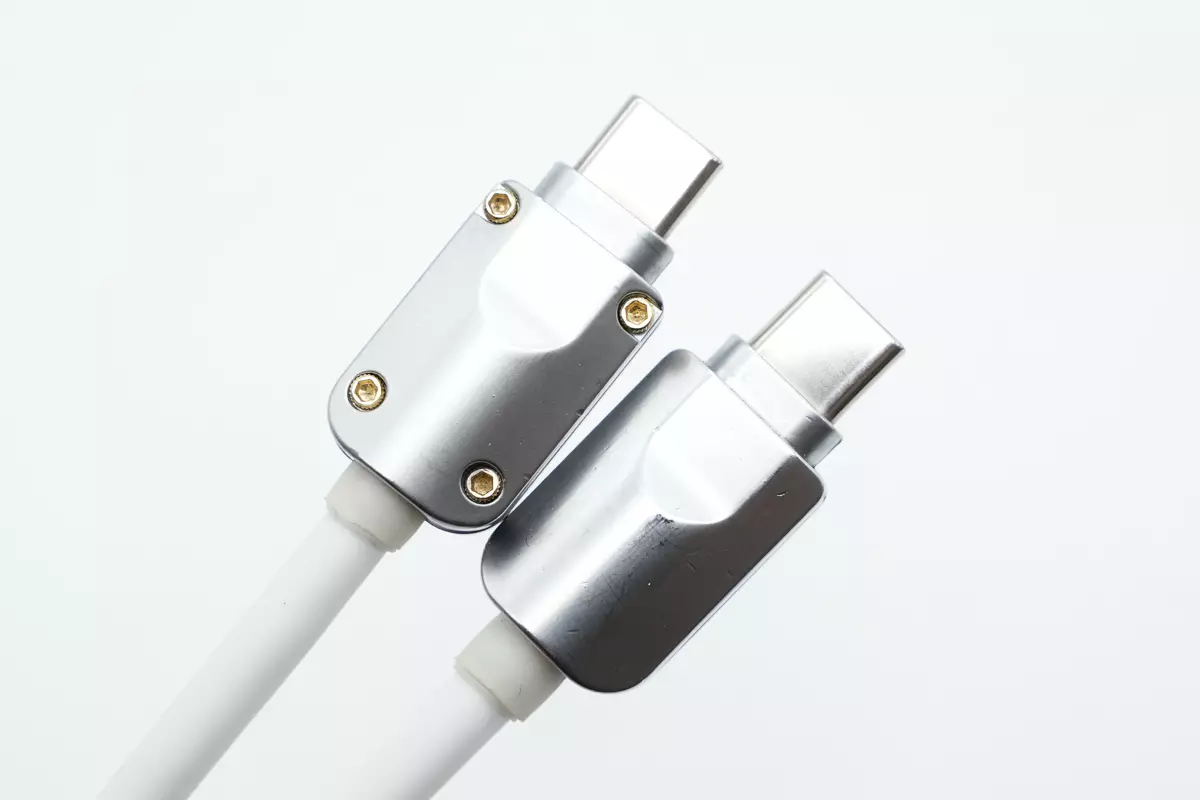
The cable connectors are made of metal shells, which not only provide excellent protection but also feature a detachable design.
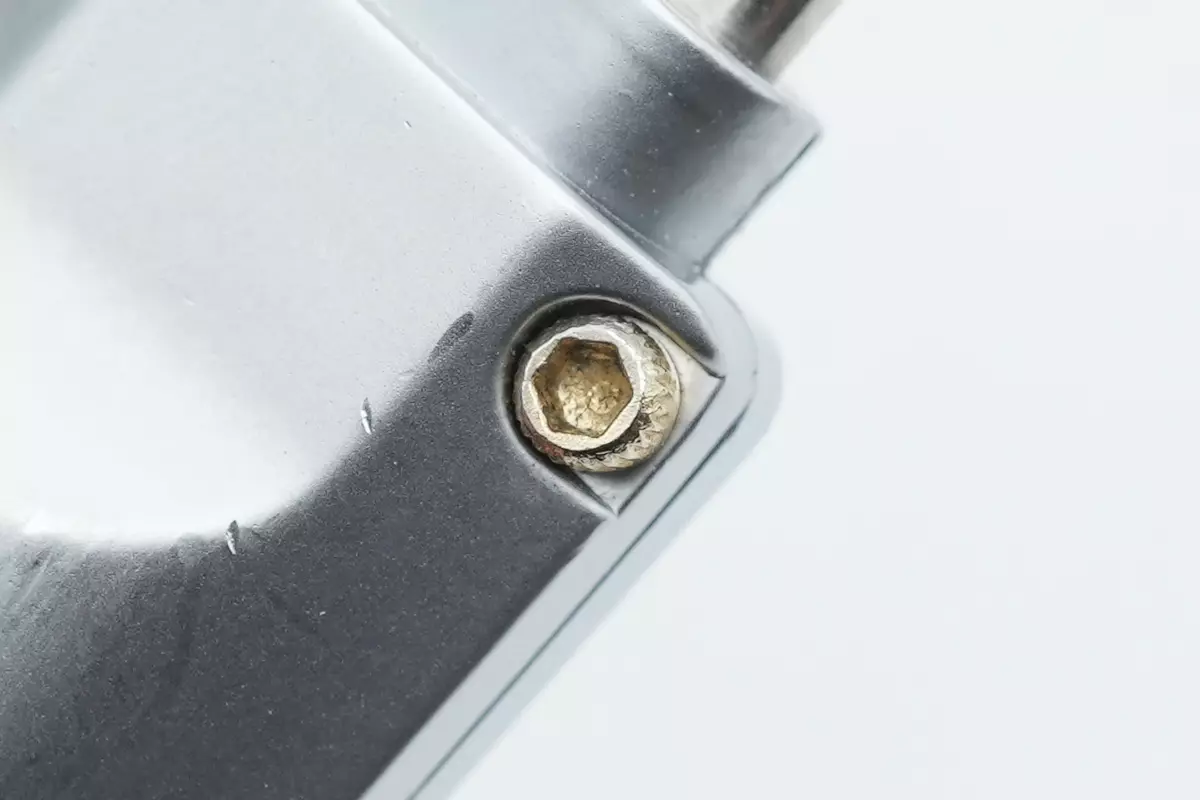
The front and back of the metal shells are fixed by screws, and compared to traditional fixed processes, the design allows for easier and more flexible maintenance and replacement.
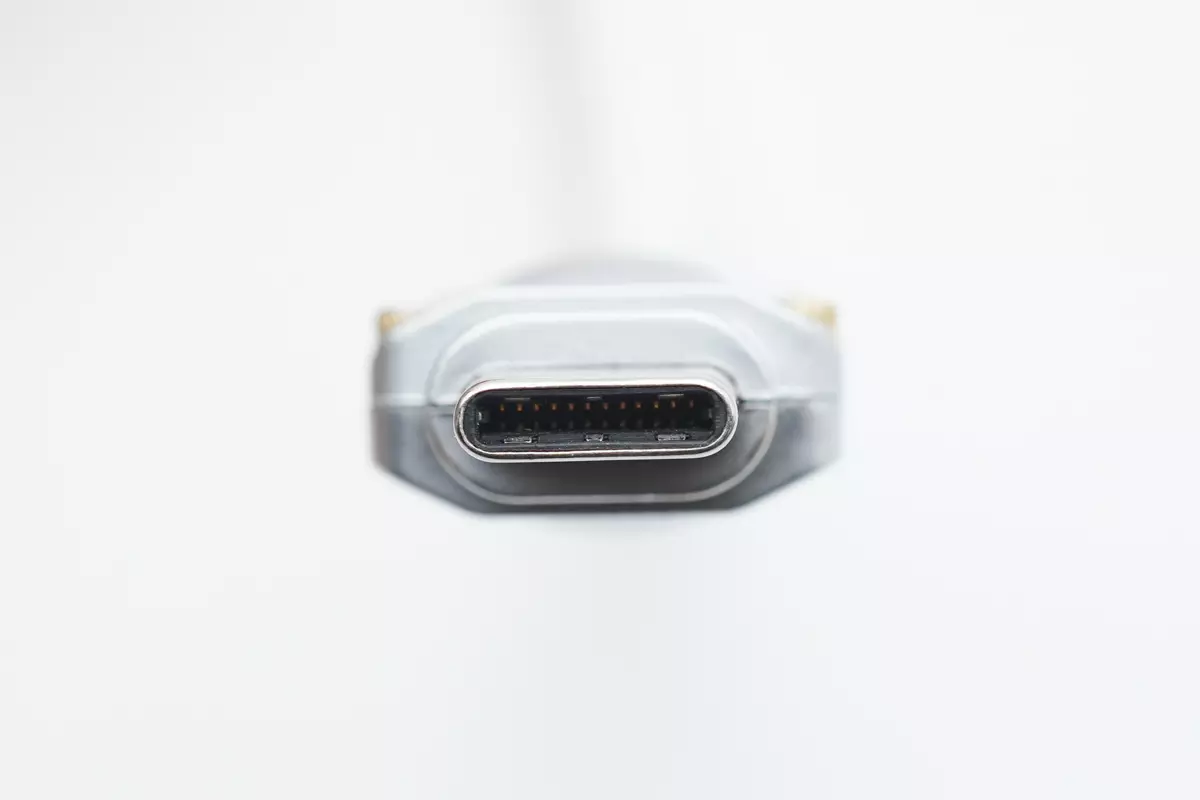
The plastic sheets inside the USB-C connector is black, and it adopts full-PIN design.
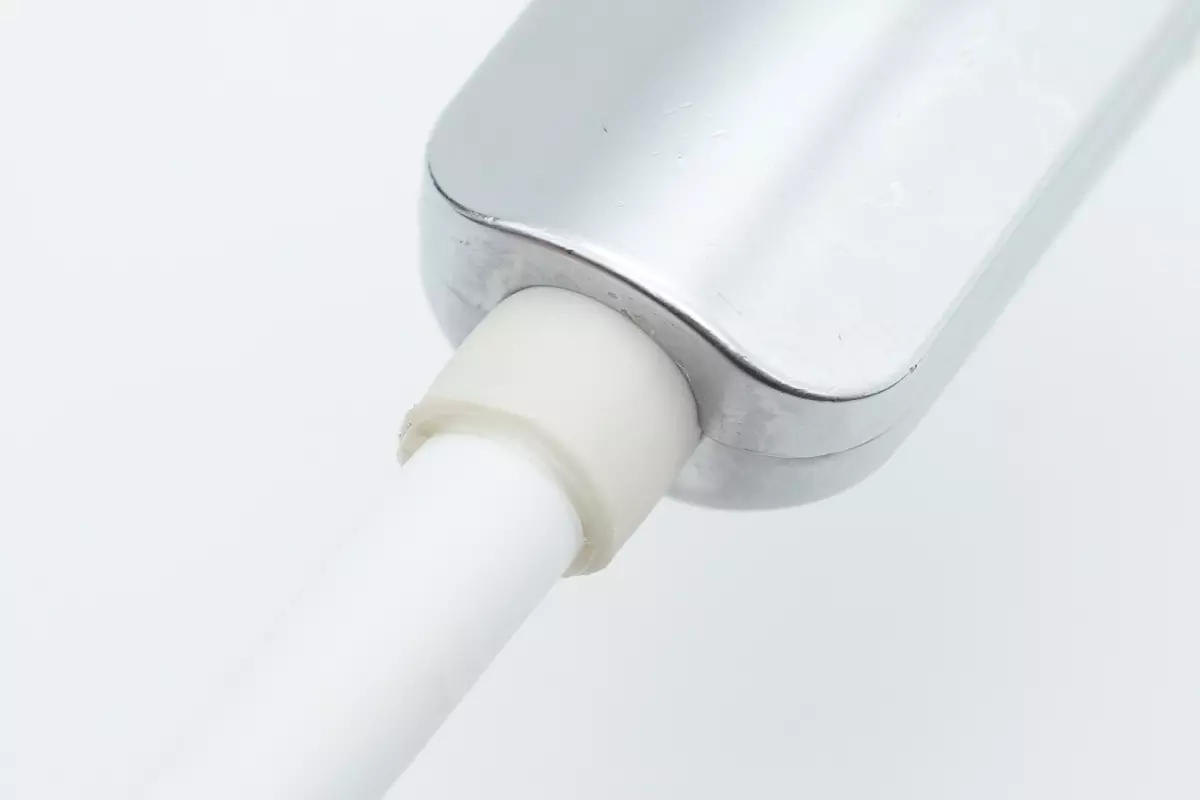
The junction of the cable and connector is protected with a rubber sleeve to improve its durability.
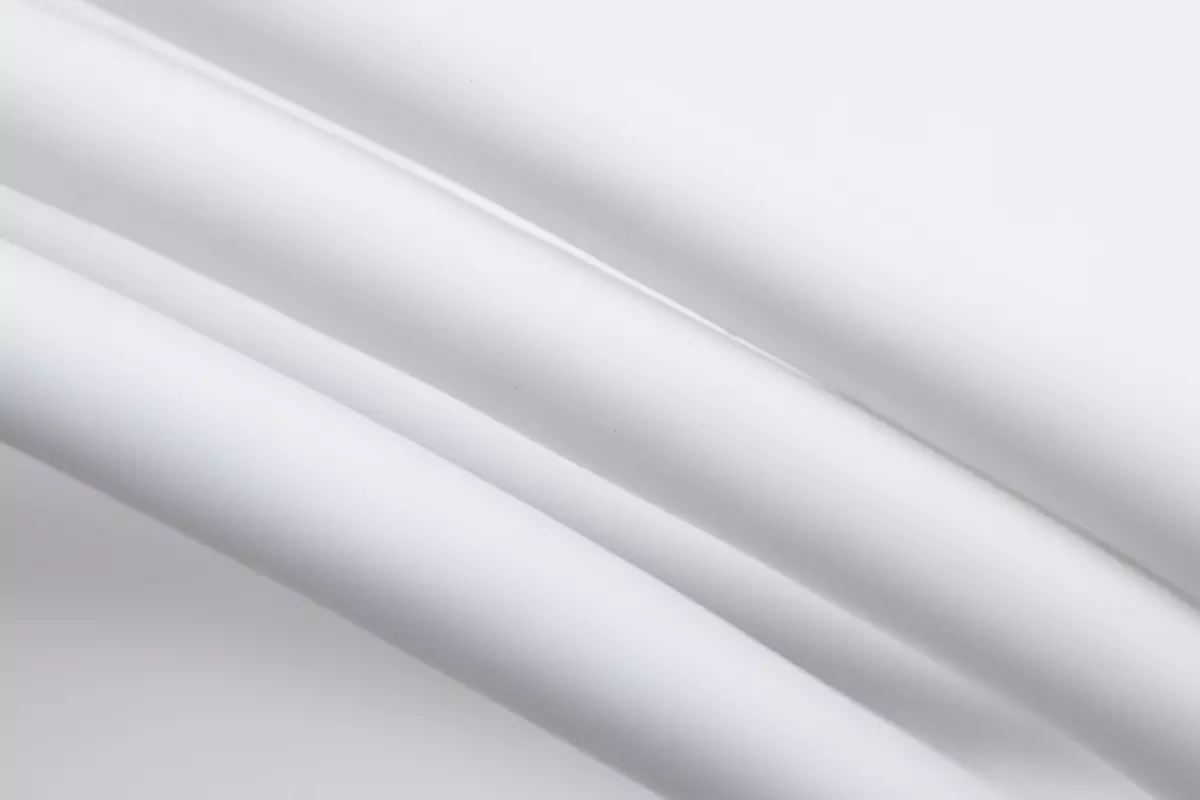
The cable itself is made of silicone material and has a soft, skin-friendly feel making it one of the best handmade cables on the market in terms of feel.
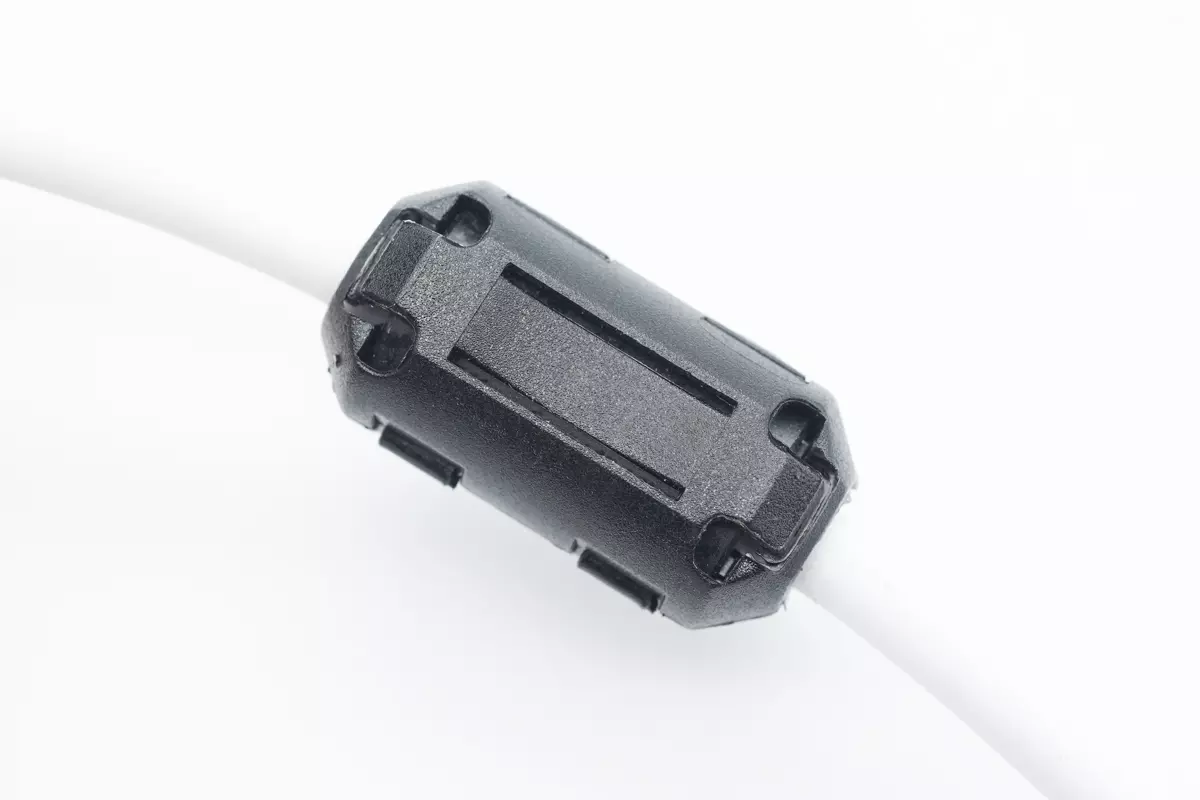
A clip-on ferrite magnetic ring is in the middle of the cable to suppress the interference, which can be opened and removed.
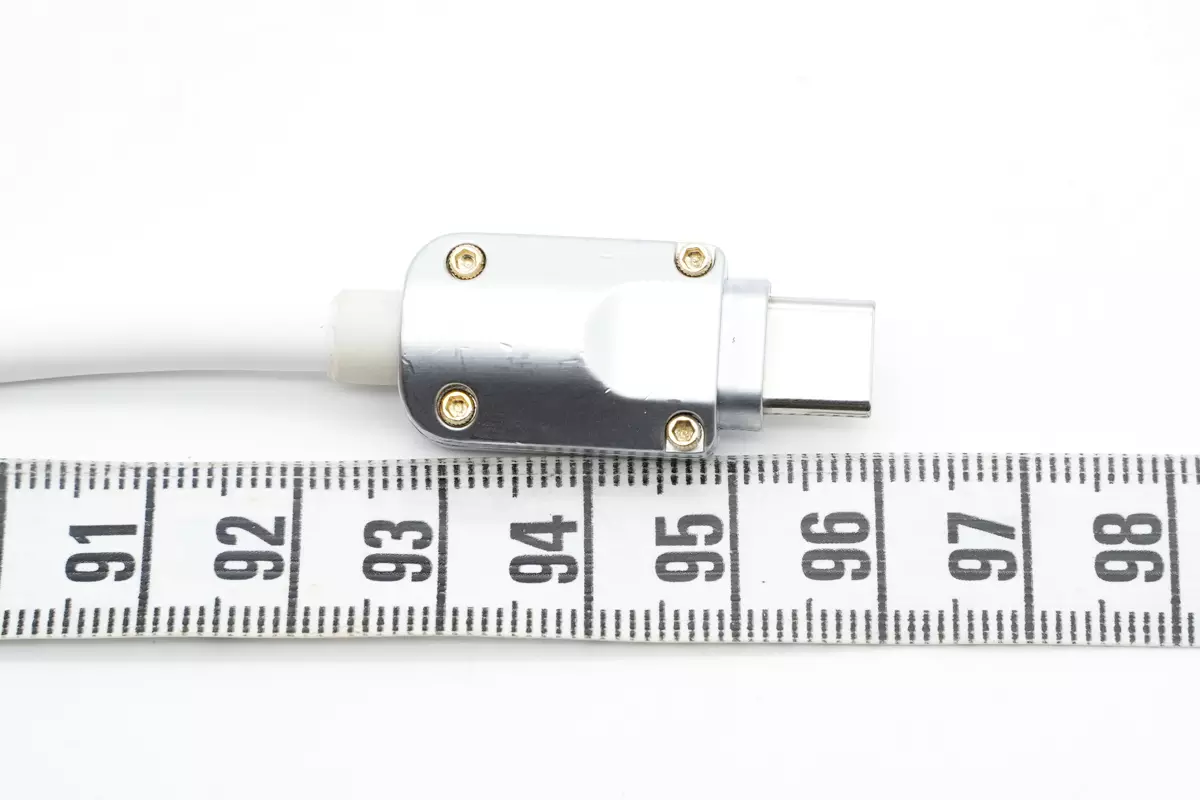
The cable length is about 1m (3' 3.37'').
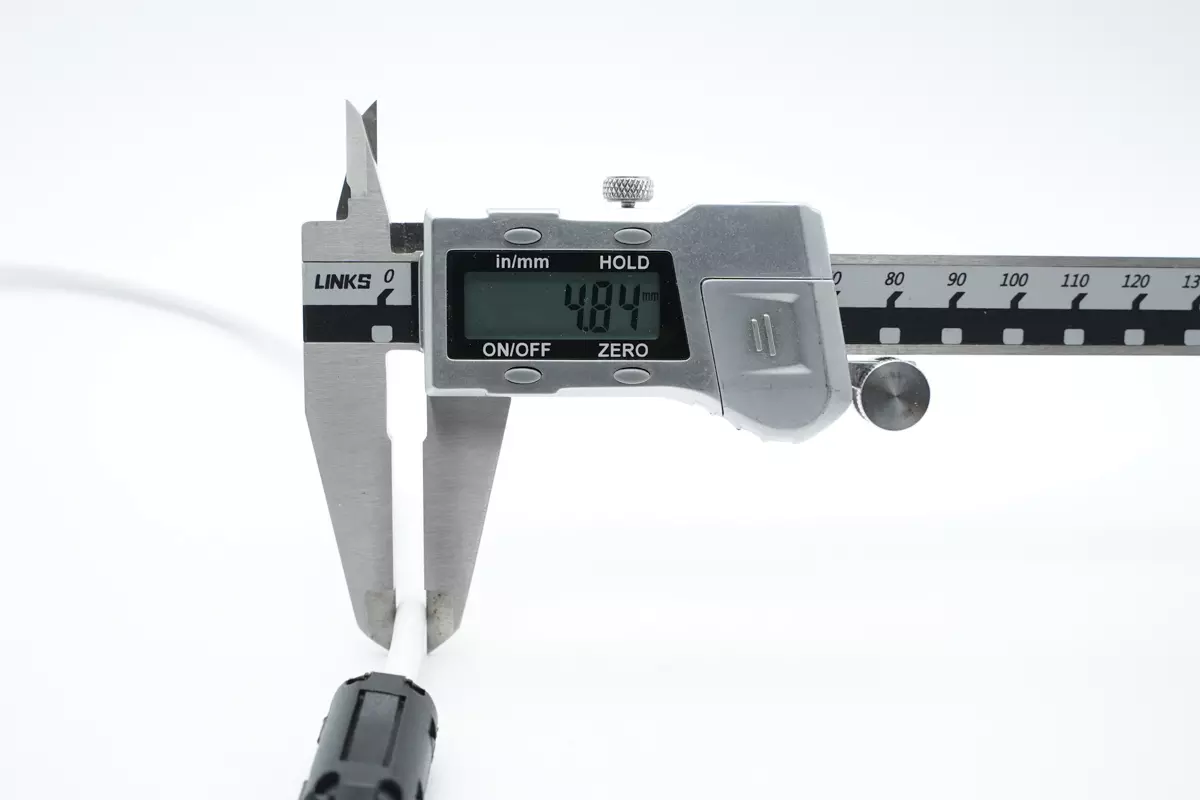
And the diameter is about 4.84mm (0.19 inches).
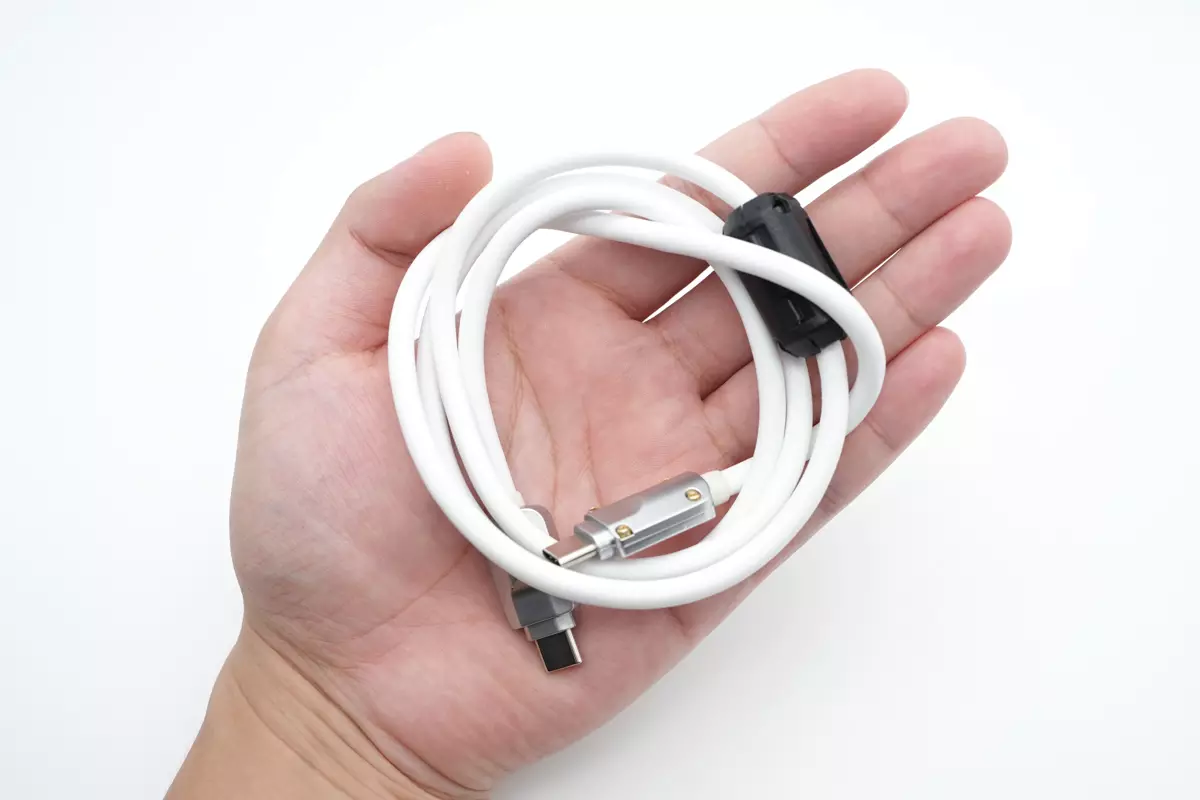
This is how it looks like on my hand.
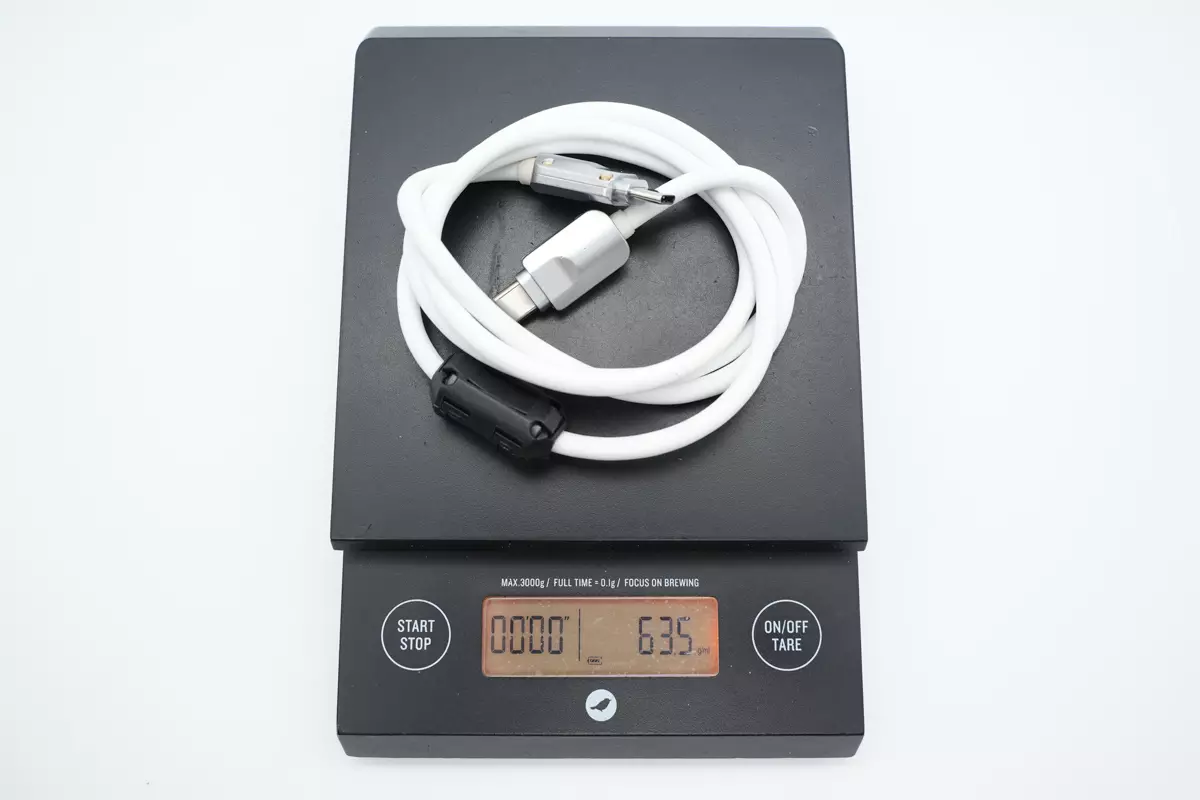
The overall weight is about 64g (2.26 oz).
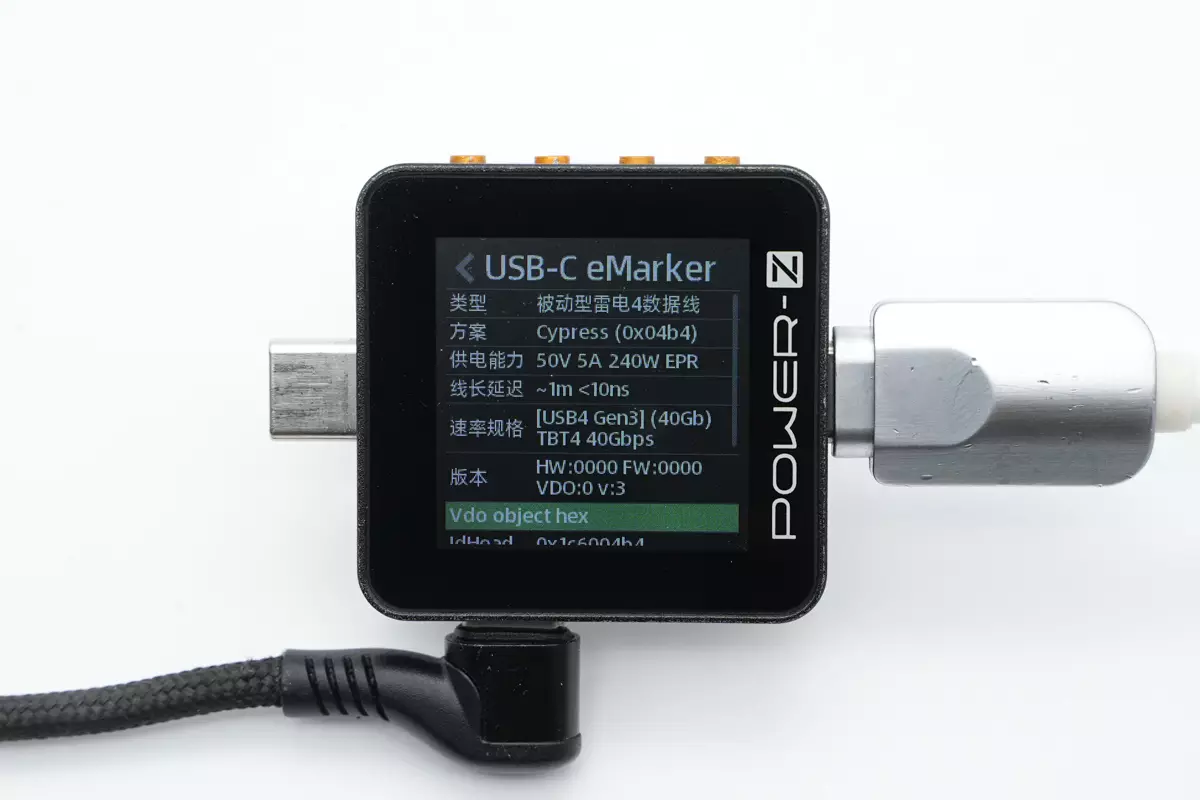
The ChargerLAB POWER-Z KM002C shows it's a passive Thunderbolt 4 cable with an E-Marker chip, and it can support 240W EPR and 40Gbps (USB4 Gen3).
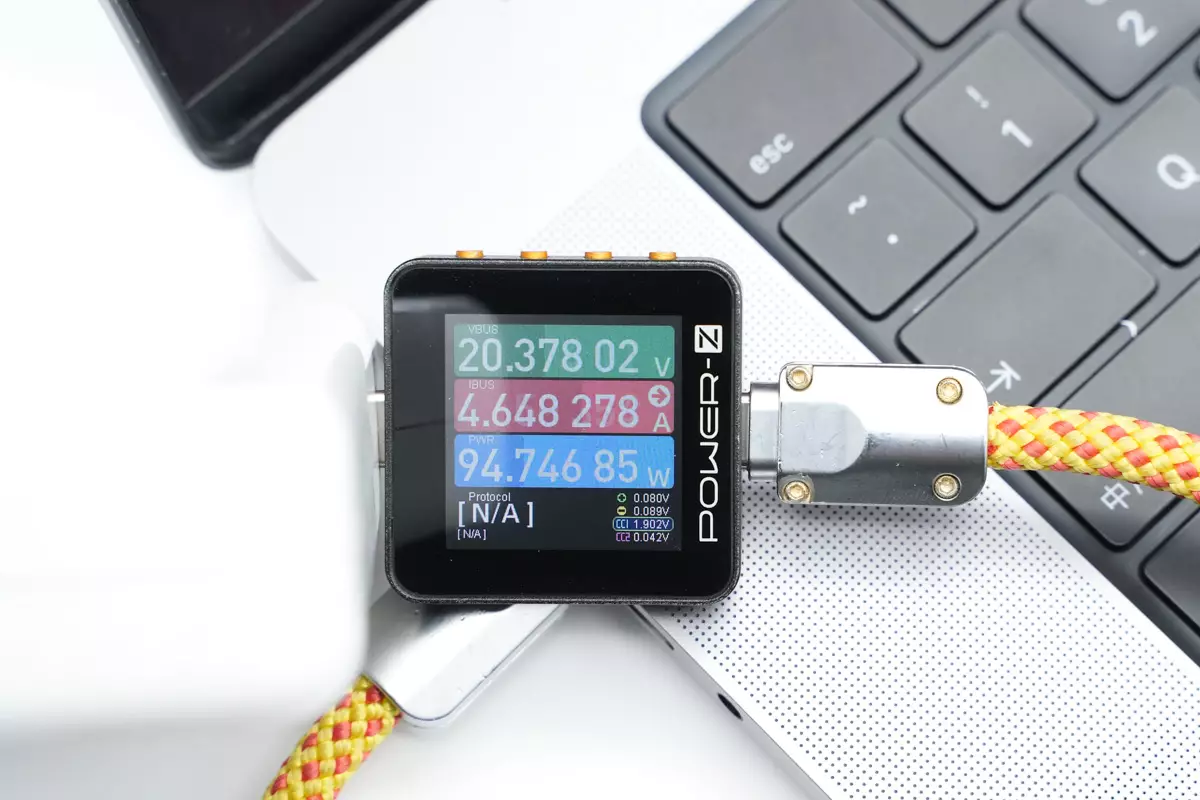
Use it to charge the MacBook Pro with the USB-C port, and the charging power is about 95W, so it can trigger the 100W PD protocol successfully.
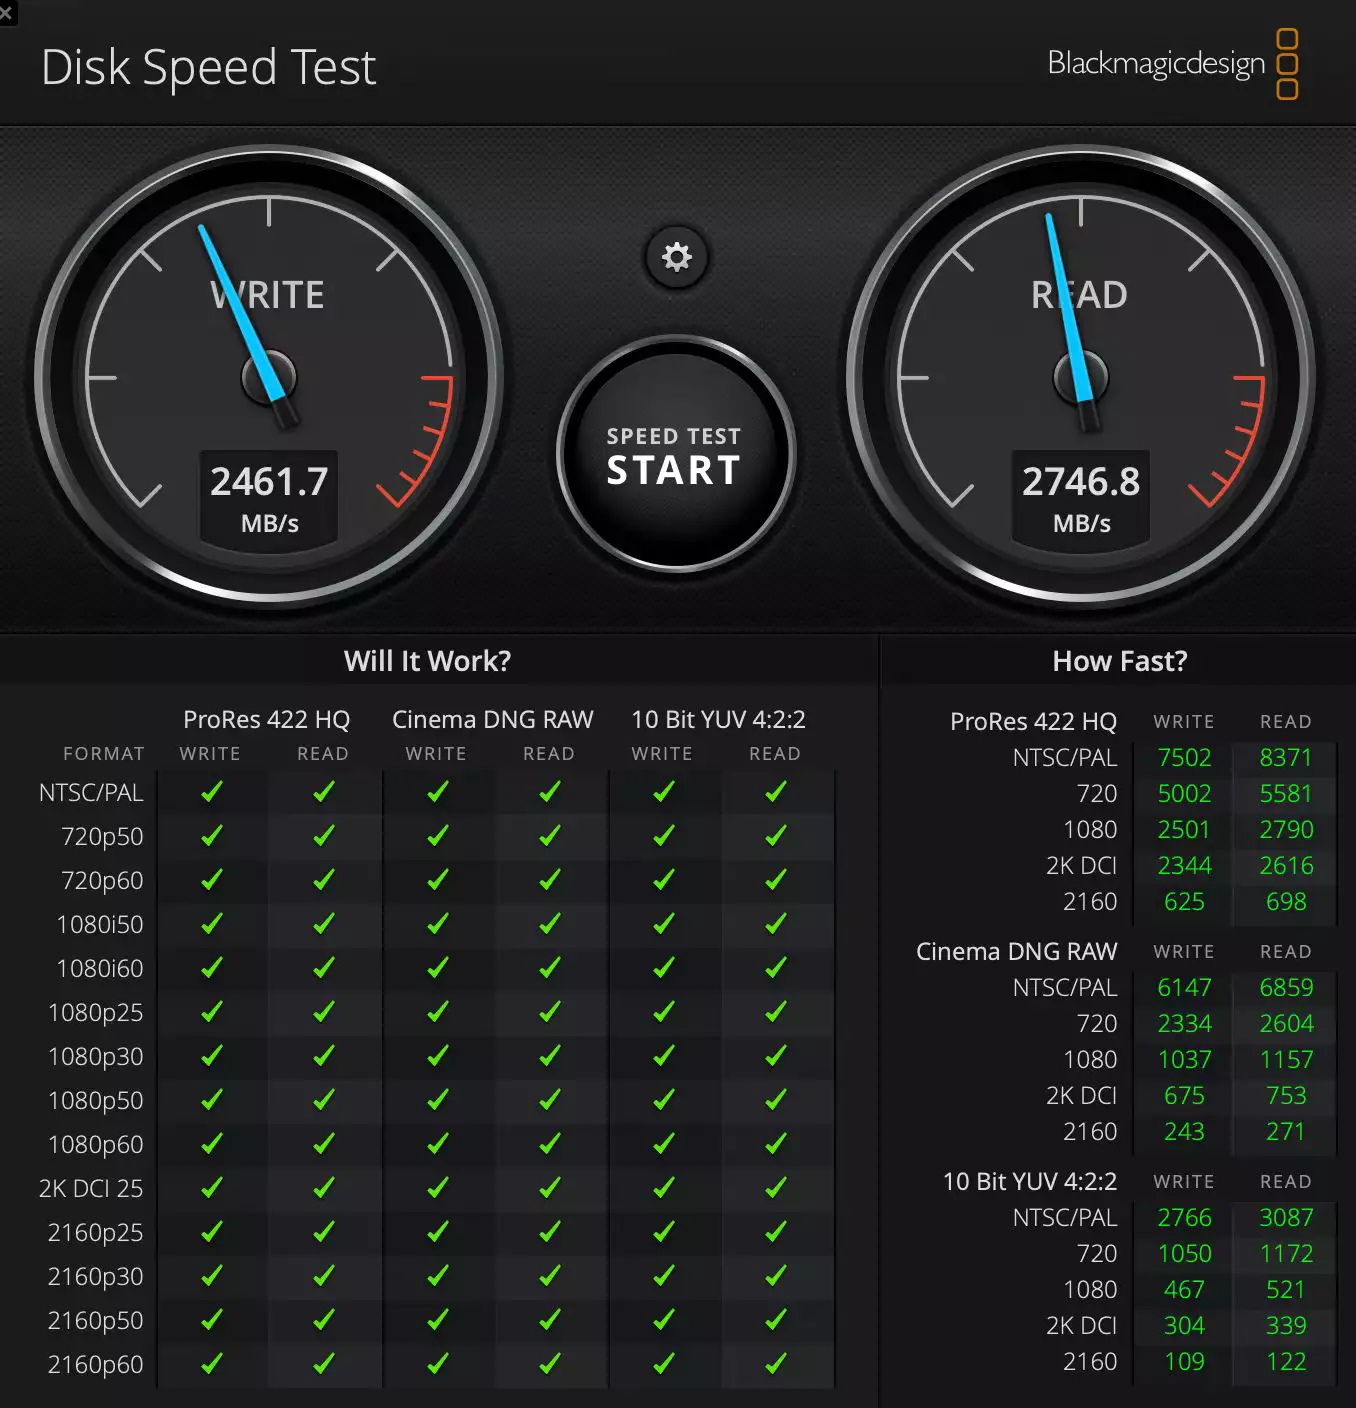
Furthermore, when testing the data transfer speed with Disk Speed Test by connecting the cable to a laptop and a hard drive enclosure, it was found that the write speed was approximately 2461.7MB/s and the read speed was around 2746.8MB/s, meeting the data transfer standards of USB4.
Teardown
After reviewing and testing this cable, let's take a closer look at its internal components and craftsmanship.
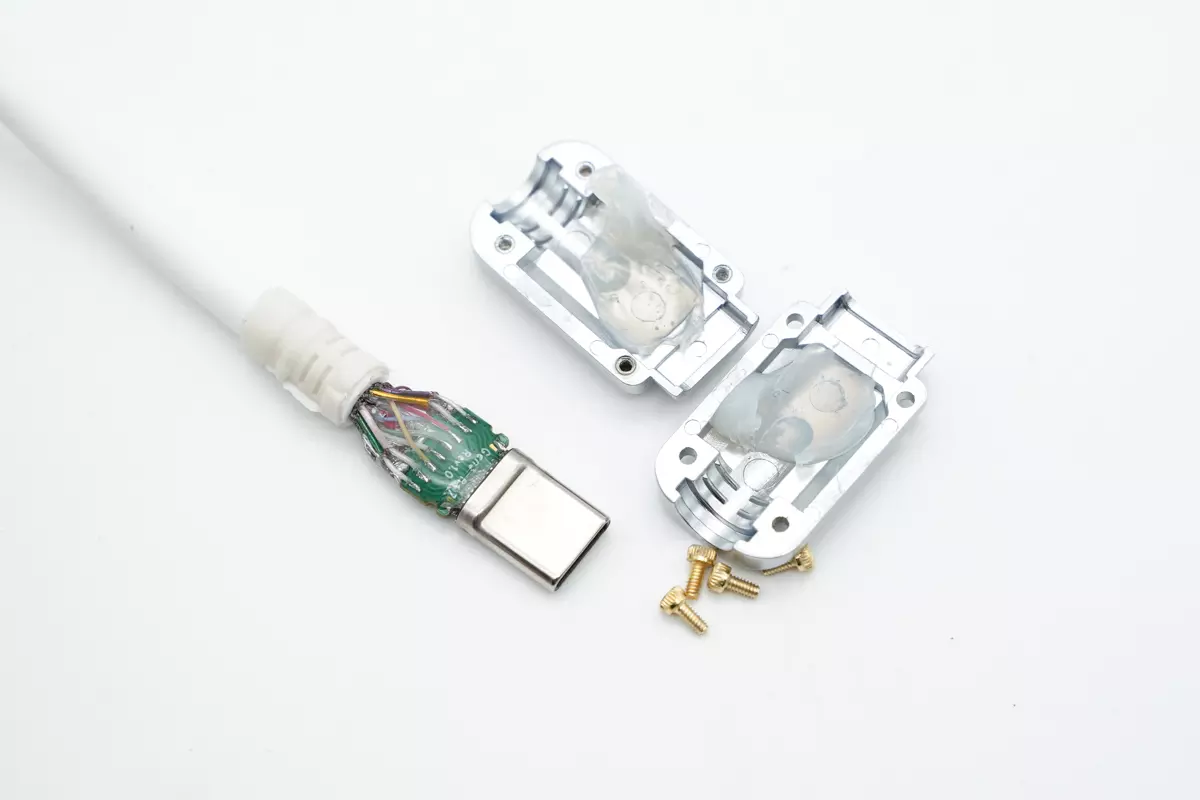
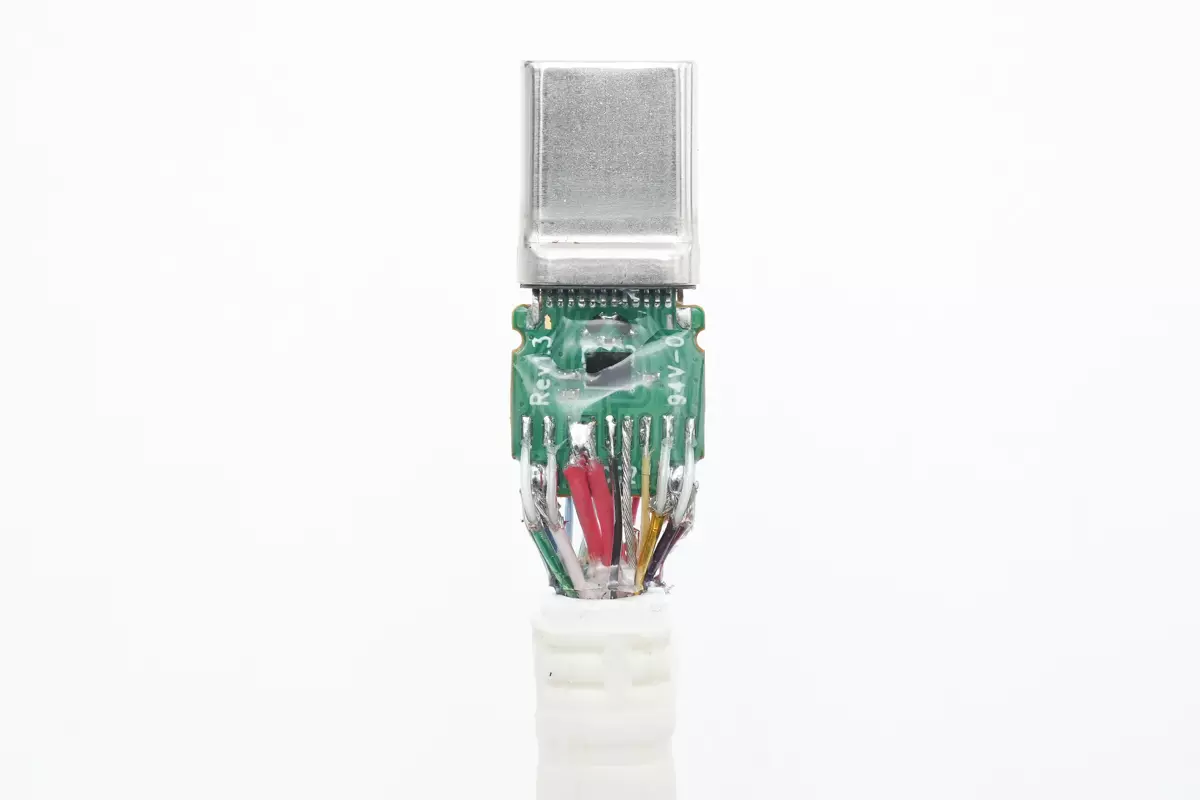
First, let's check out the USB-C connector. Since it's a DIY product, it's easy to take it apart, just unscrew those four fixing screws, and we can remove the metal case.
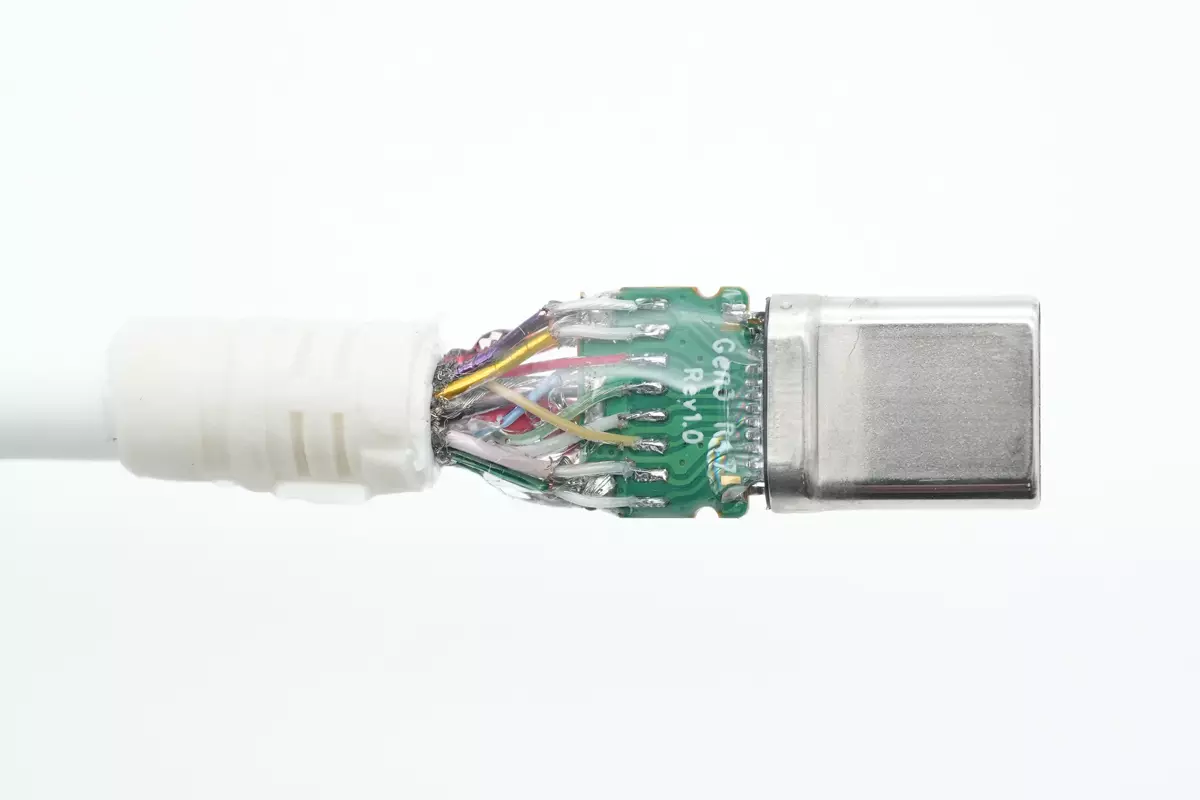
All wires on this side are soldered on the green PCB, fixed and insulated by transparent UV glue.
Here too.
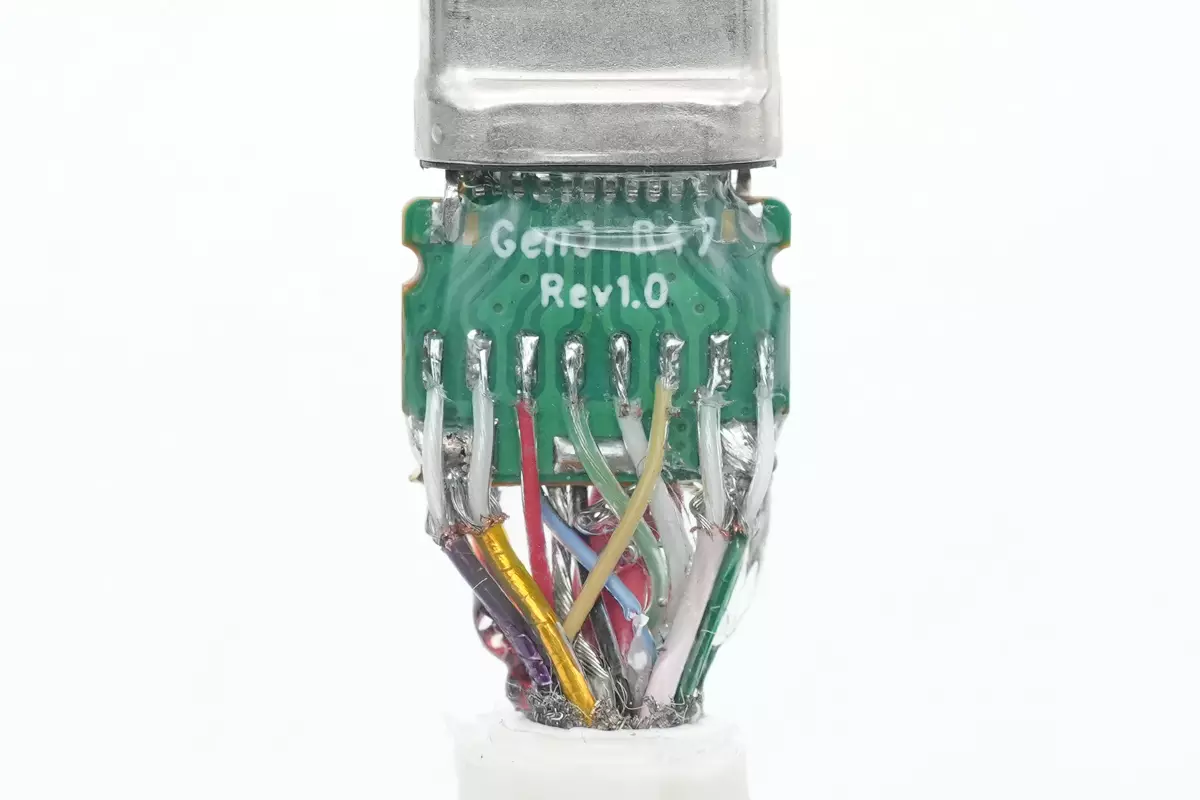
The coaxial wire inside the cable is grounded.
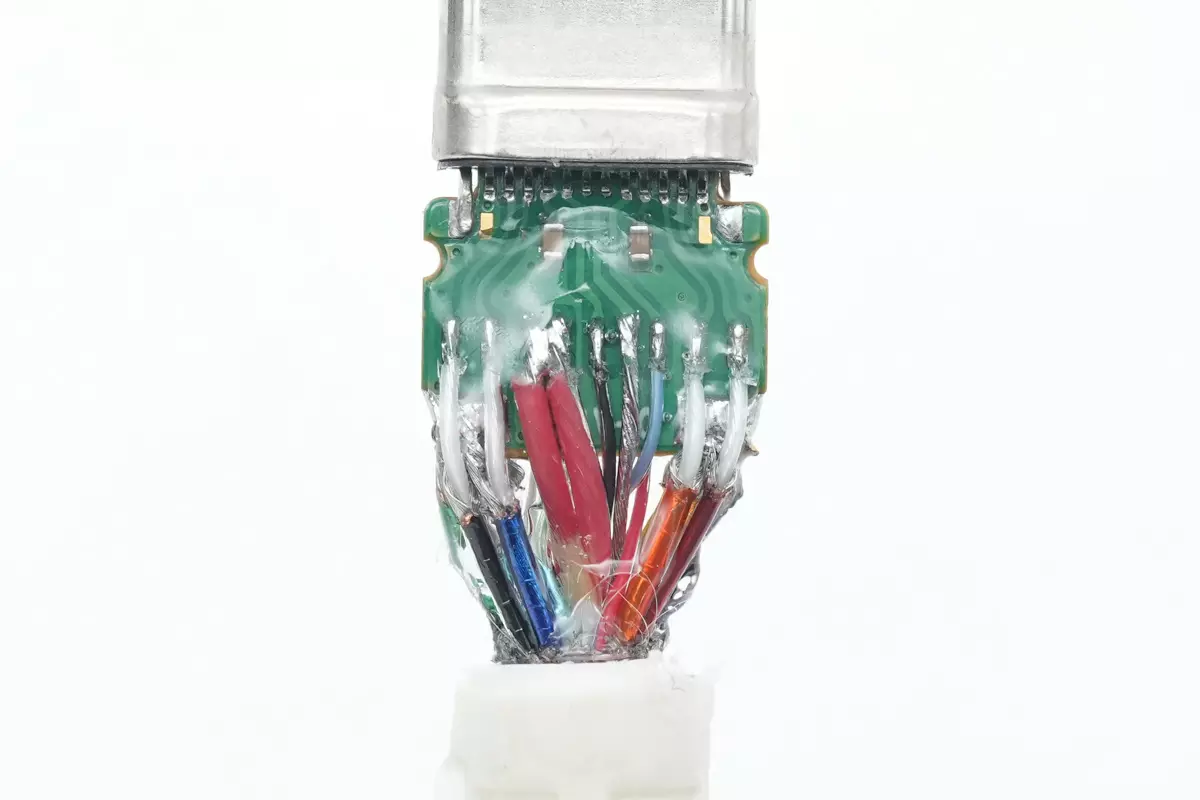
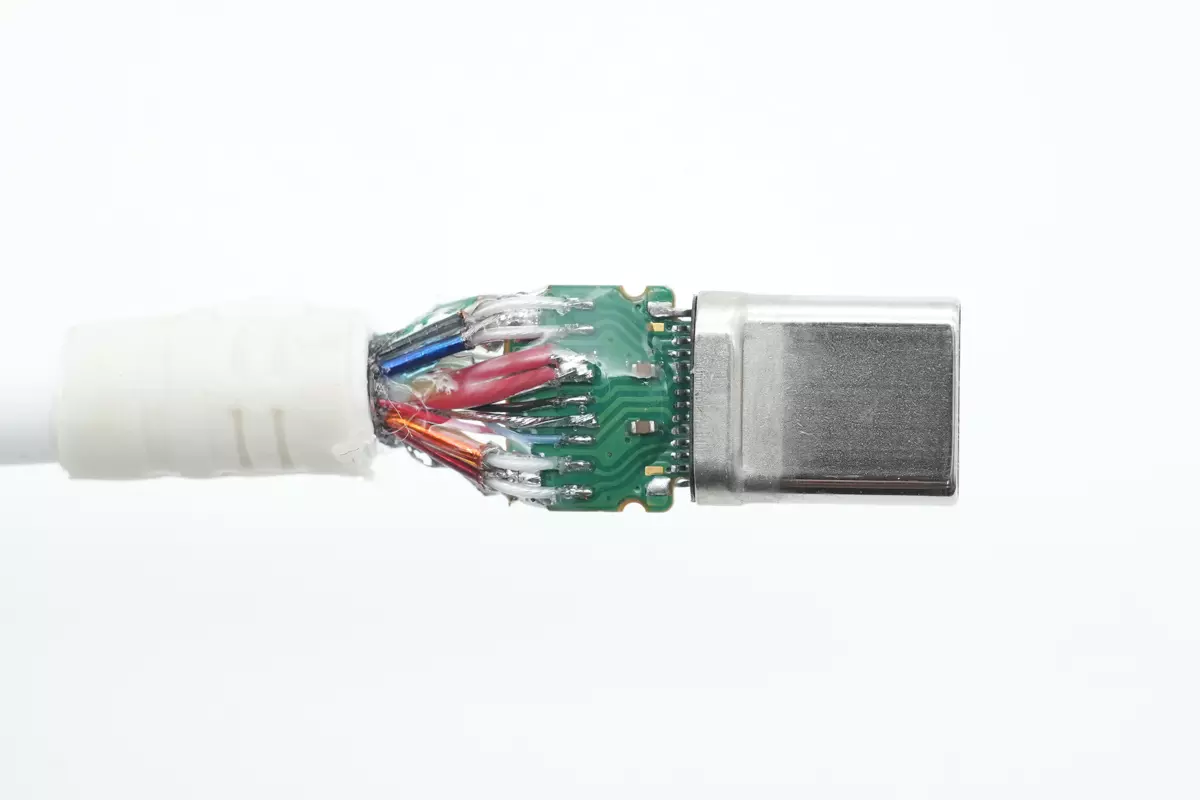
On the other side, we can see the coaxial wire and positive red wire.

Continue to remove the metal case of the other USB-C connector. The internal structure is pretty similar, but there's an additional E-marker chip.
The UV glue can also be found in here for fixing and insulating.
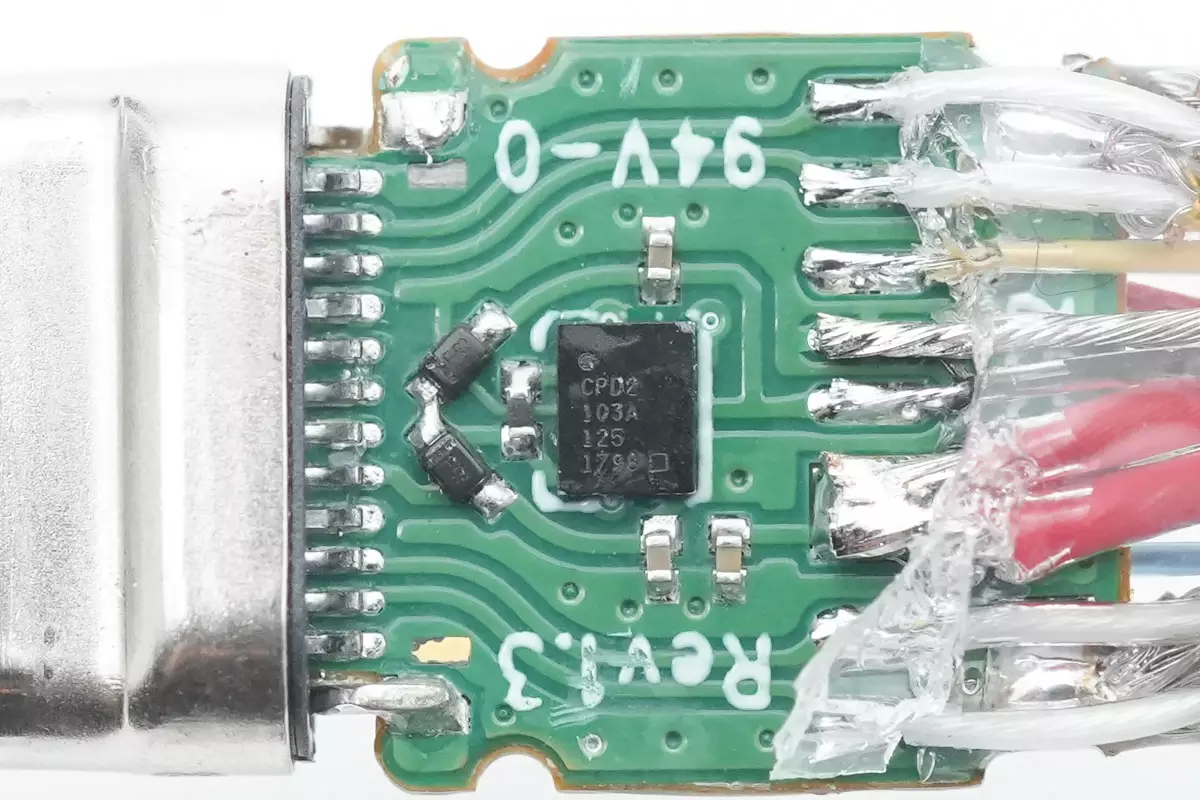
Clean up the glue, and the E-Marker chip comes from Infineon, model CYPD2103A. It's a Cortex-M0 CPU with 48MHz frequency, 32KB flash memory, and 4KB SRAM that supports repeat programming. It also integrates timers and counters internally, supports I2C, SPI, and UART serial ports, and has an integrated oscillator without an external crystal.
Infineon's EZ-PD CCG2 integrates the Type-C baseband physical layer and UFP and EMCA terminal resistors internally, supporting working voltages from 2.7 to 5.5V. The CC and VCONN pins support ±8kV contact discharge and 15kV air discharge for class 4C standard of IEC61000-4-2 and support an industrial-grade operating temperature range of -40 to 85℃.
To prevent electrostatic breakdown, the E-Marker chip uses a Zener diode for overvoltage protection.
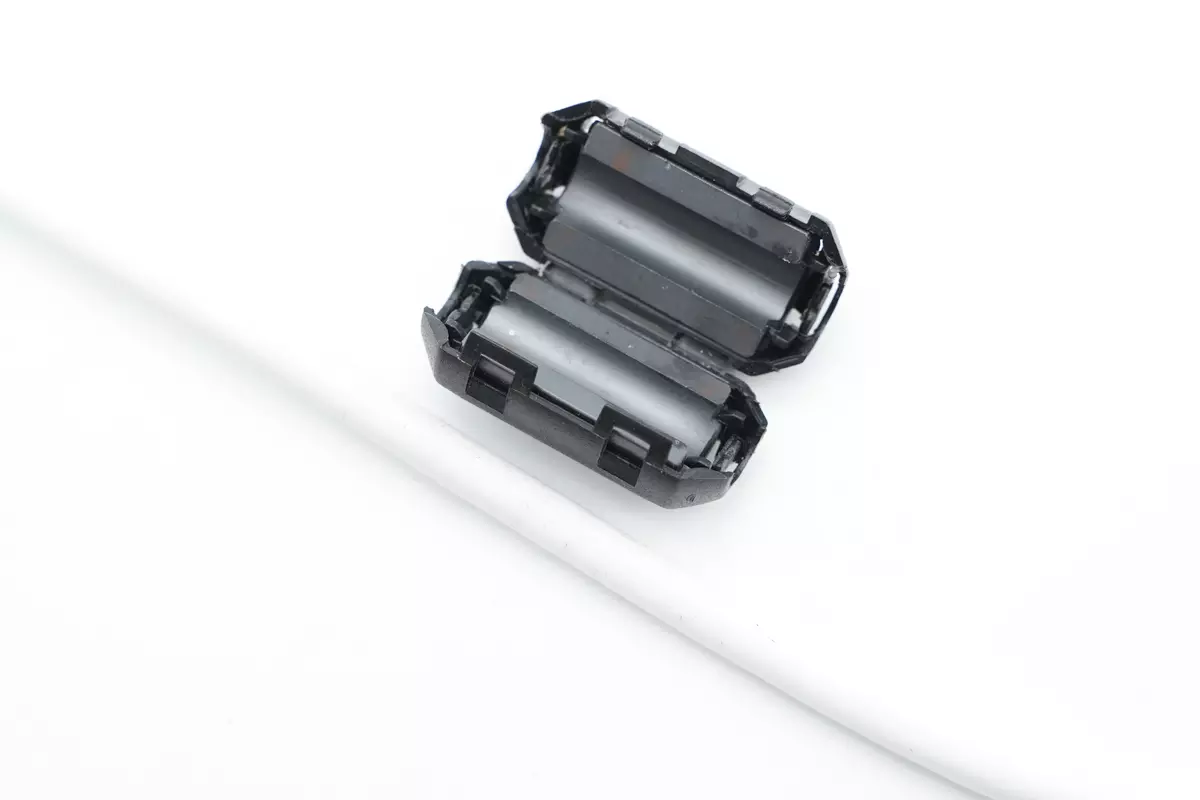
This is how the clip-on ferrite magnetic ring looks like after taking out.
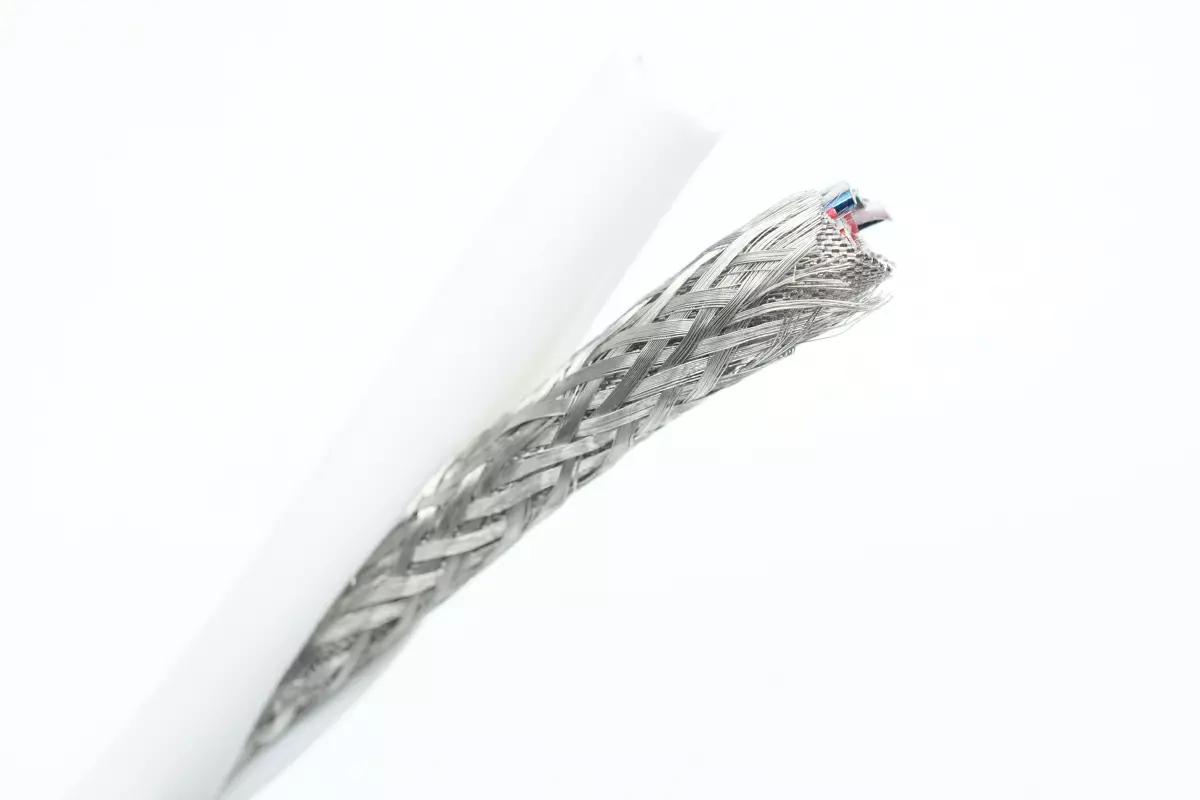
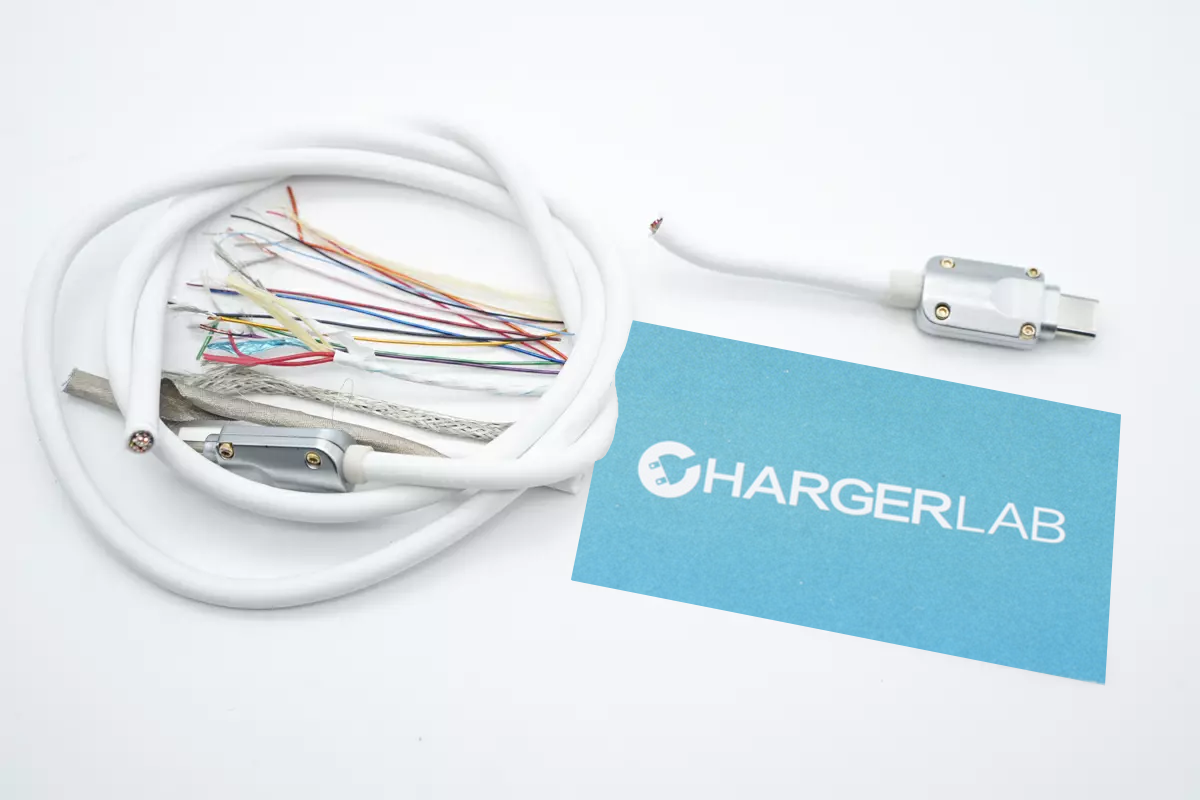
Next, move to the cable side, cut it off ,and remove the outer rubber layer. There's a layer of braided shielding mesh inside.
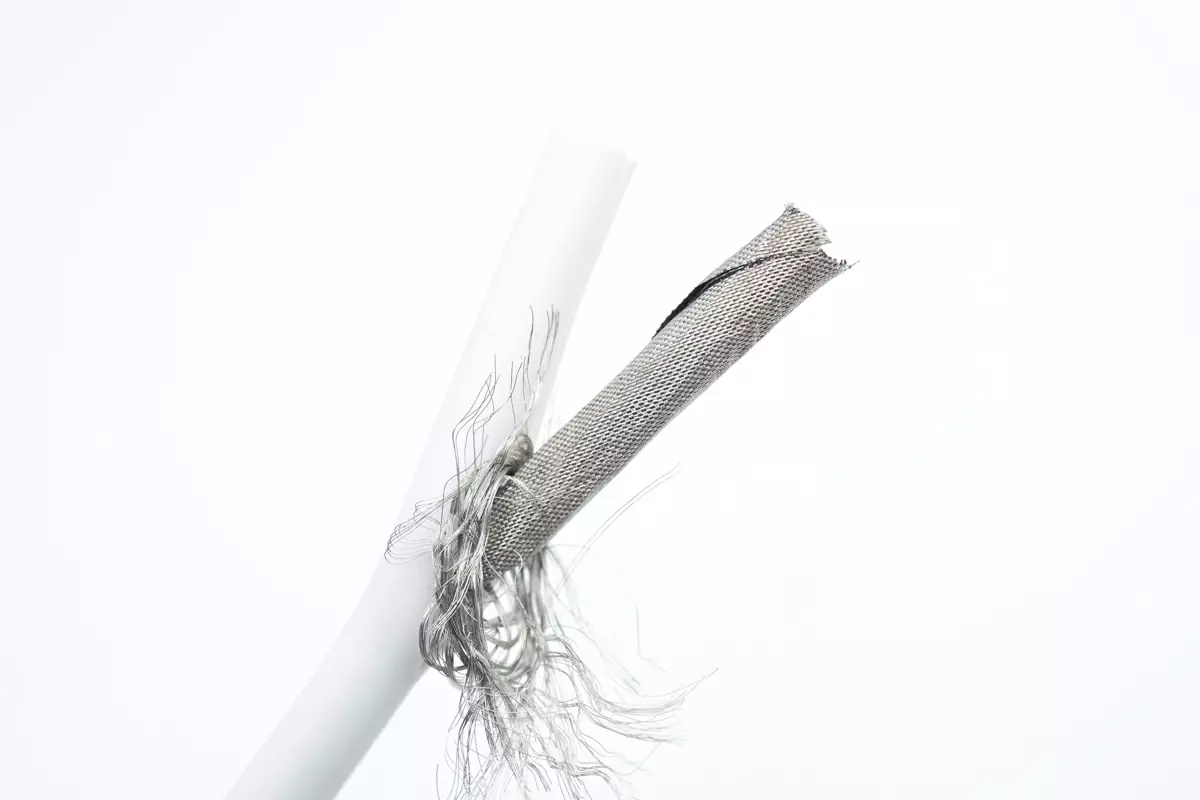
Unlike the other cable we took apart, a layer of silver conductive textile wraps all the wires inside instead of aluminum foil.
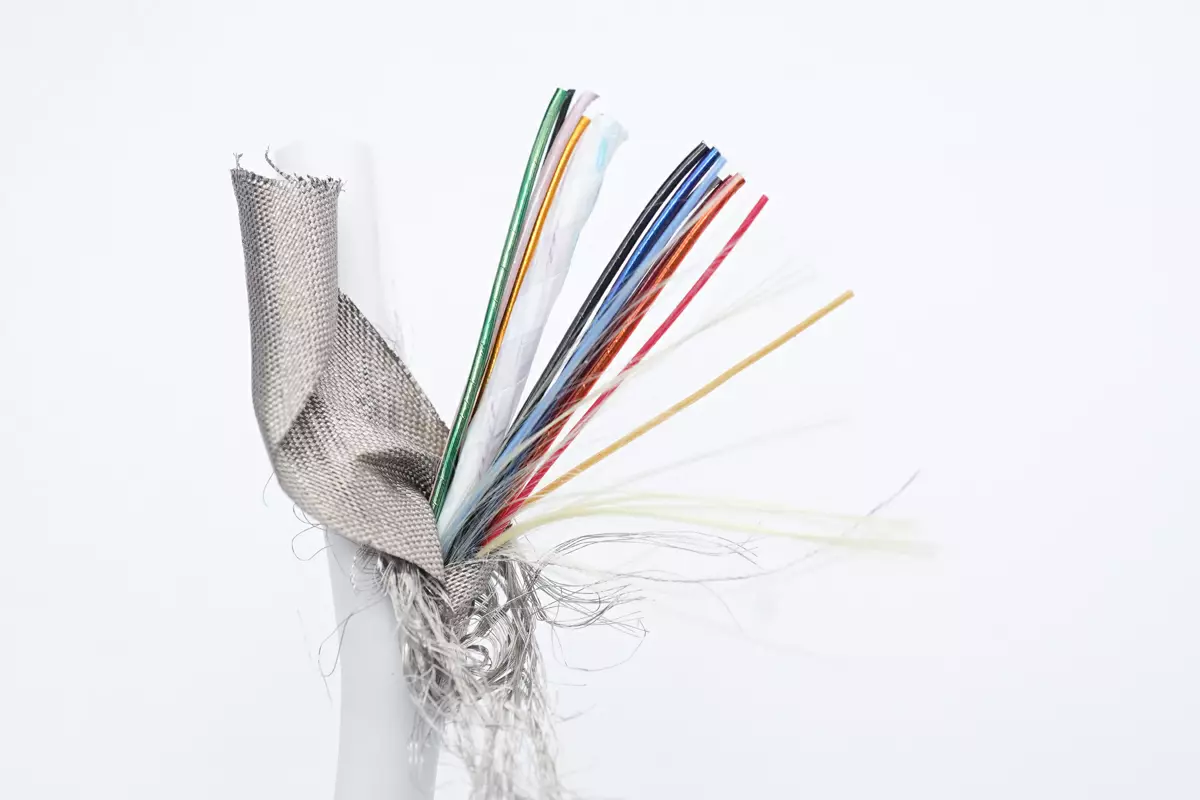
There're 14 wires inside, including four pairs of coaxial cables and some auxiliary cables.
Here is a close-up of the cable's internal structure, including the outer rubber layer, braided shielding mesh, silver conductive textile, coaxial wire, power wire and data wire, as well as tensile fibers. Now let's take a more detailed look at the wire design inside the cable.
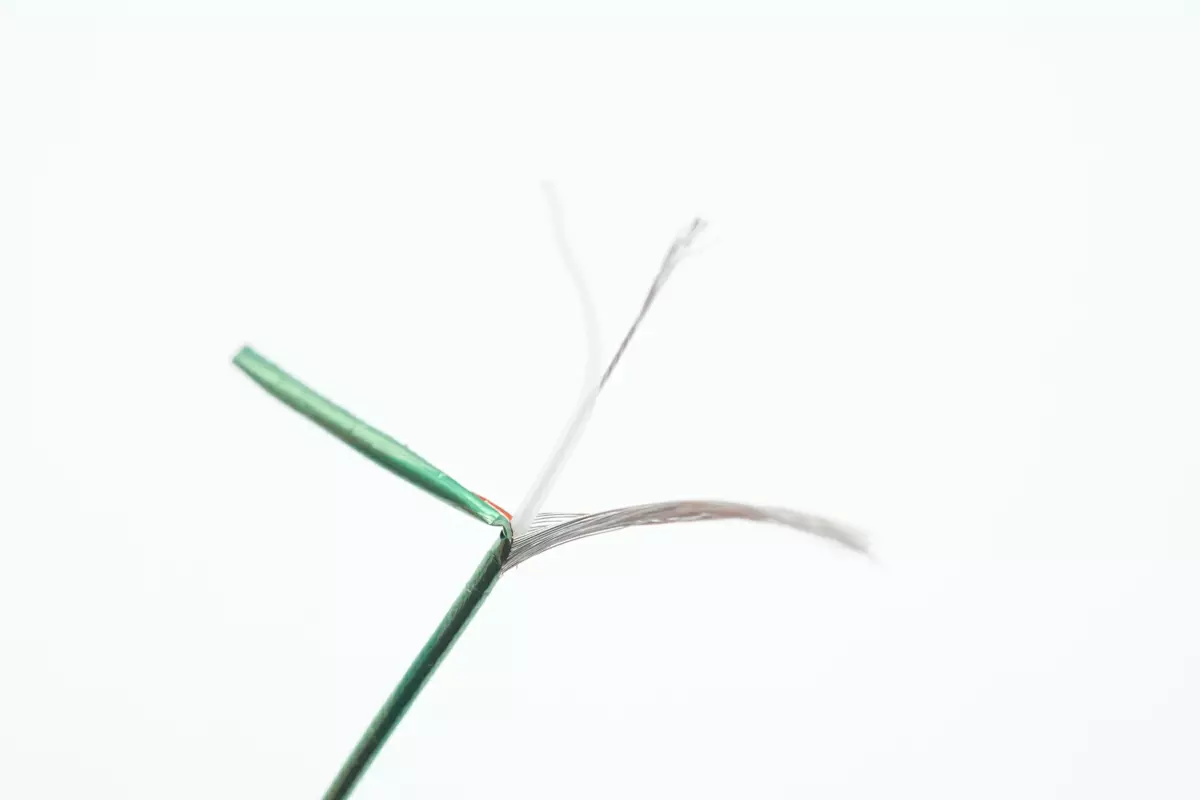
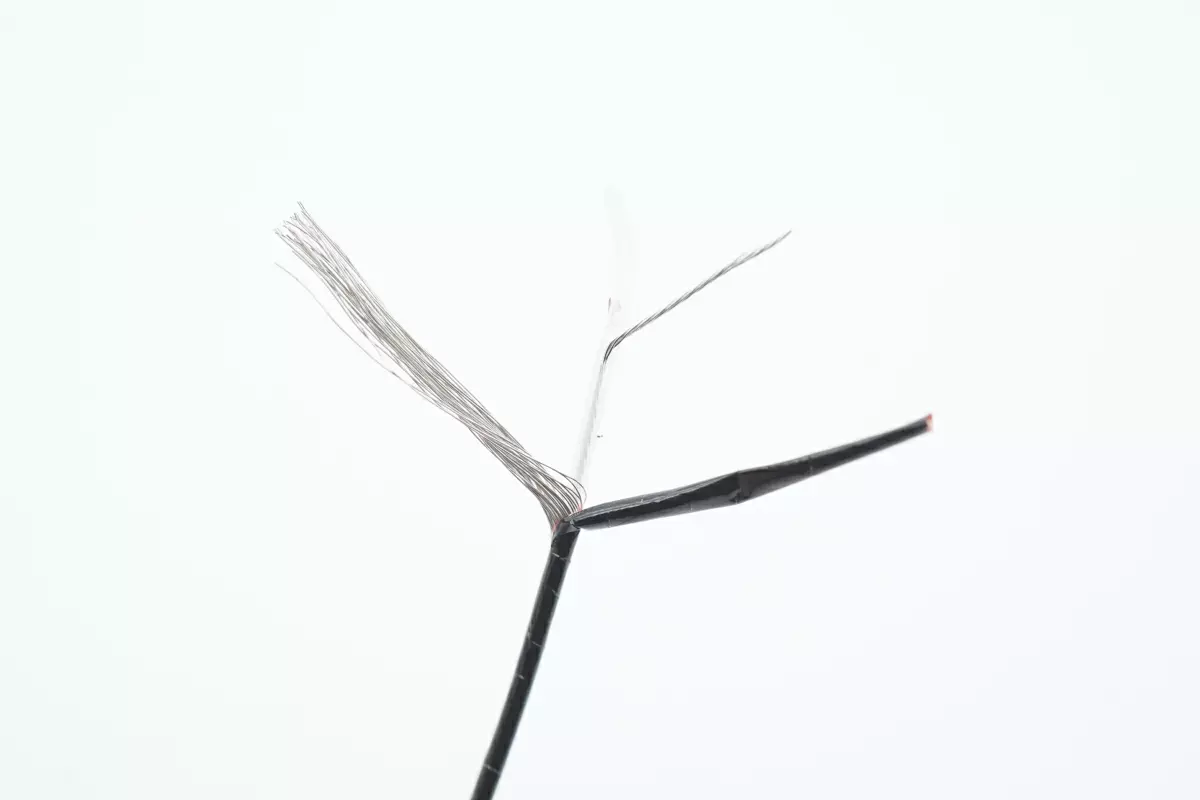
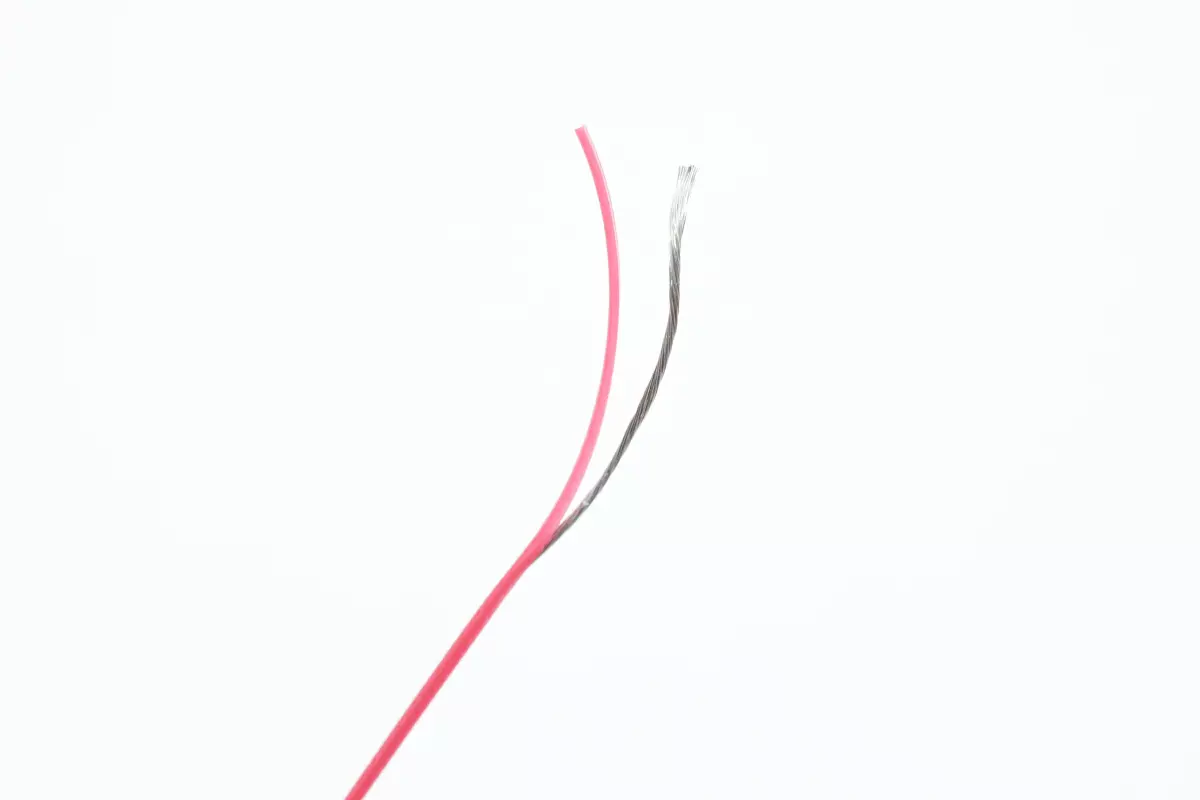
The green coaxial wire that corresponds to lightning signal transmission uses a pure copper layer plated with thick silver for shielding, with a copper foil and plastic insulation layer wrapped around the outer layer. The internal wire uses a semi-transparent insulation layer and is a silver-plated cable. Silver plating reduces the loss of the cable during signal transmission, and the other seven differently colored cables have the same structure.
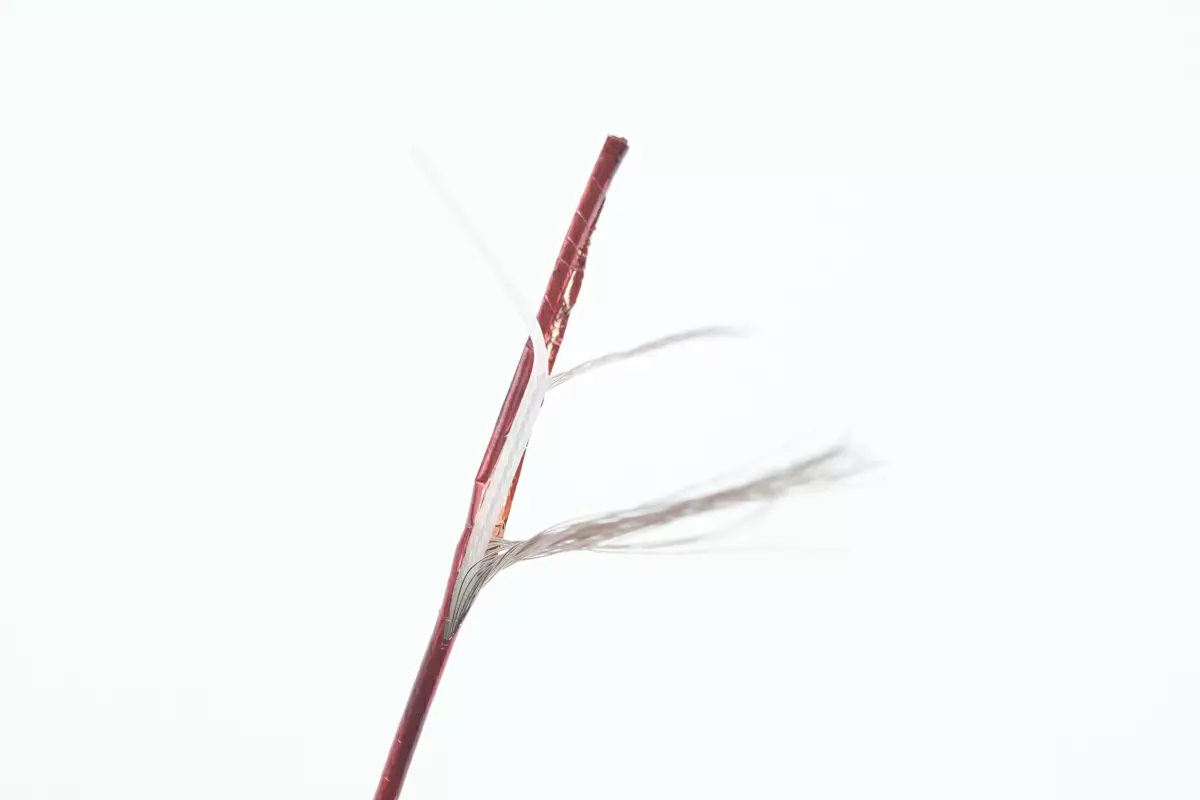
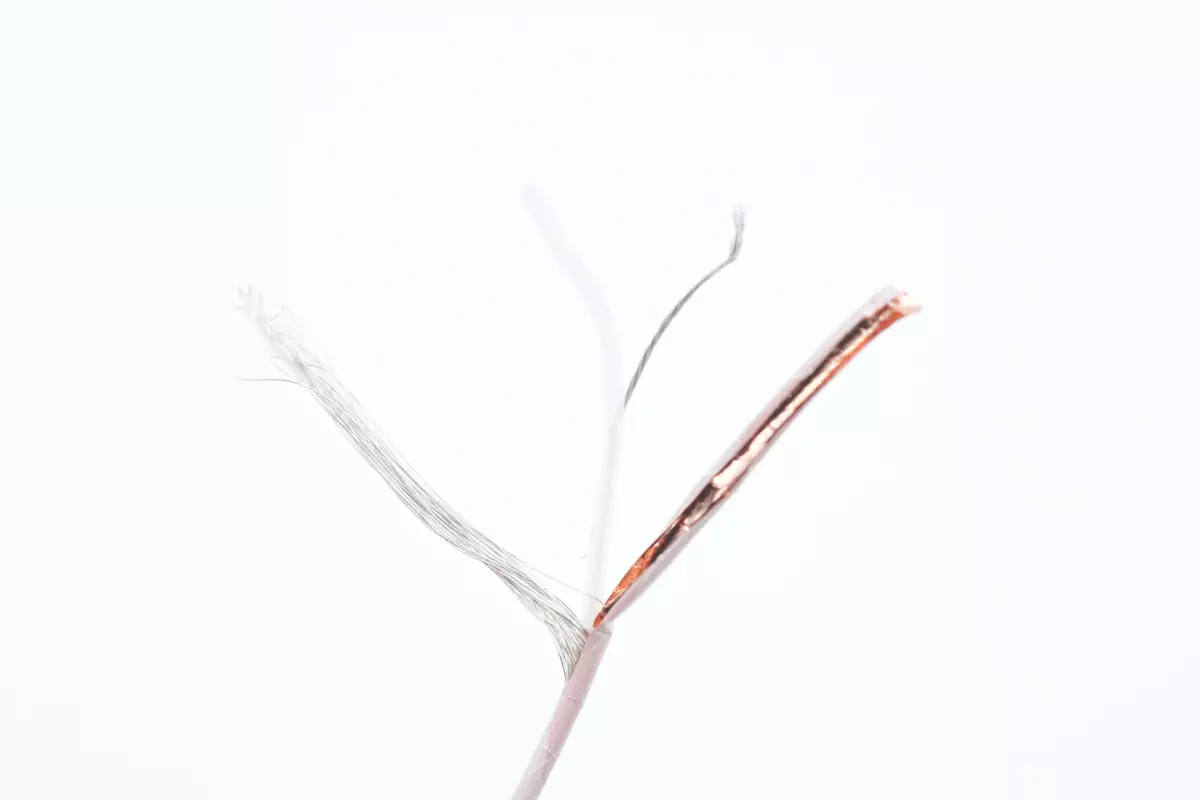
The red coaxial wire shows a semi-transparent insulation layer inside.
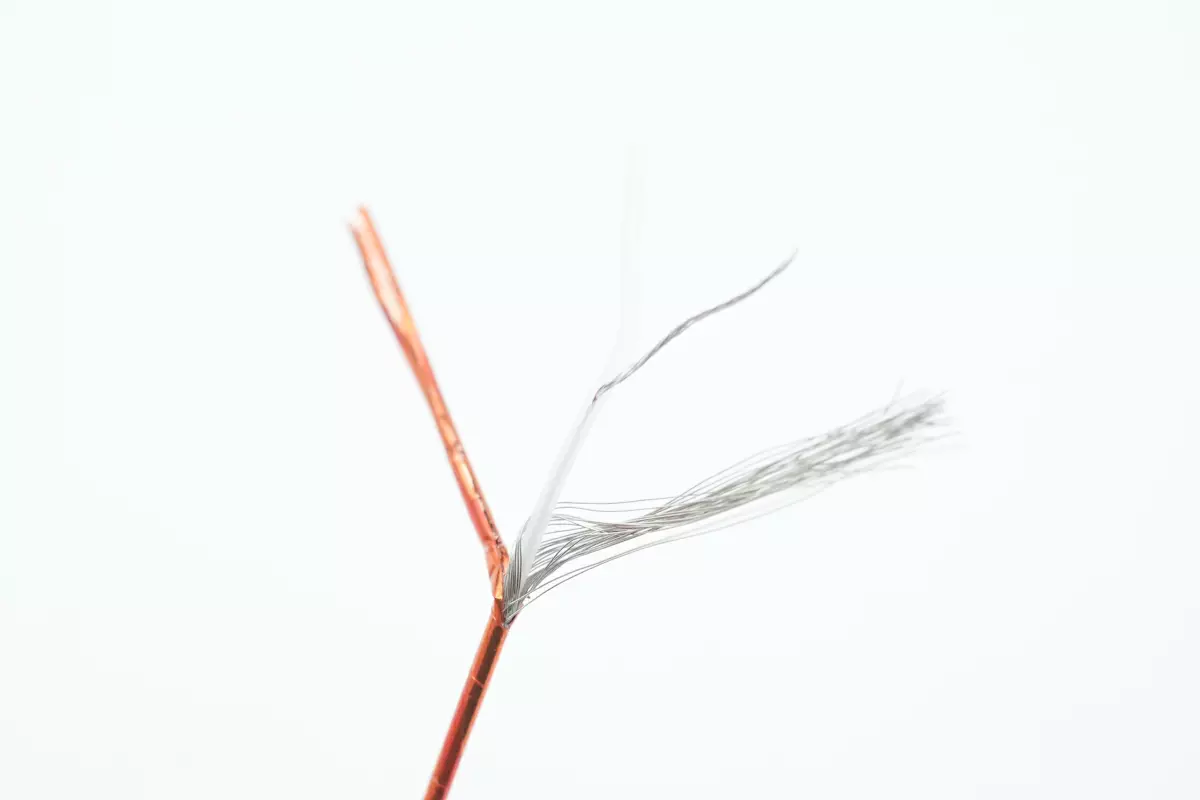
A close-up of the orange coaxial wire.
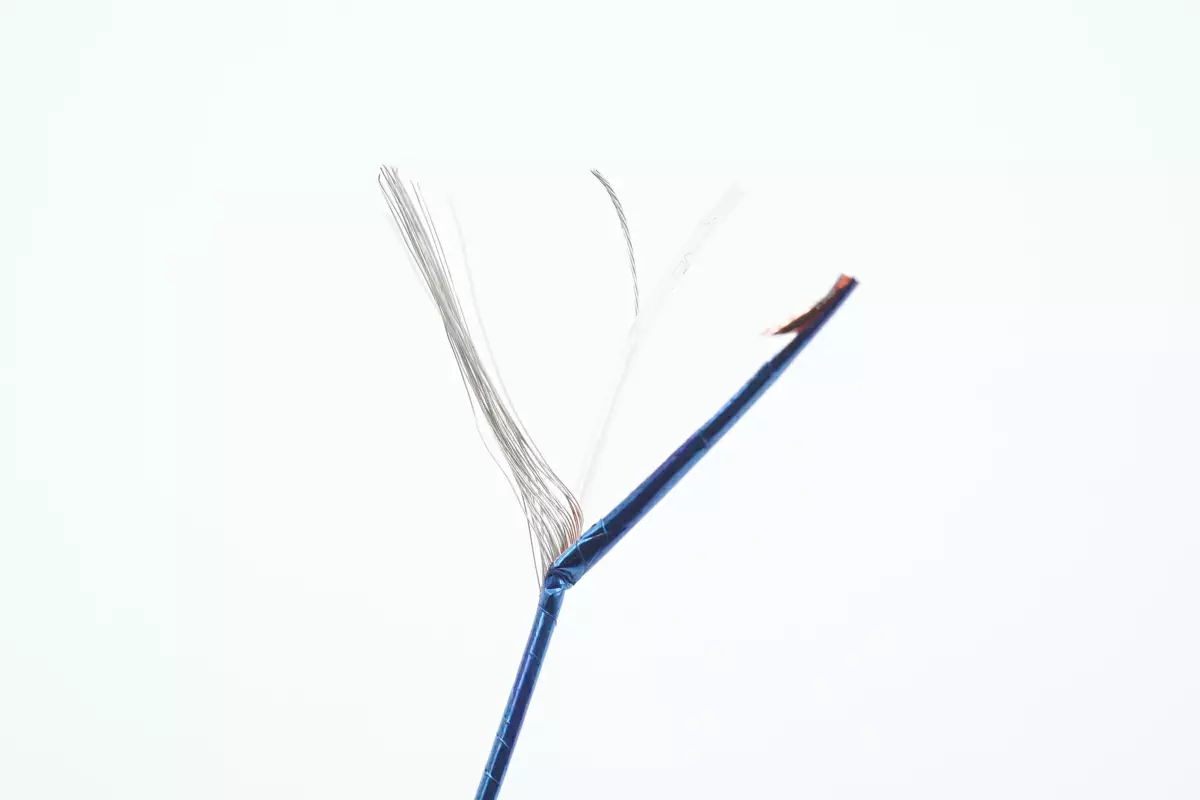
A close-up of the blue coaxial wire.
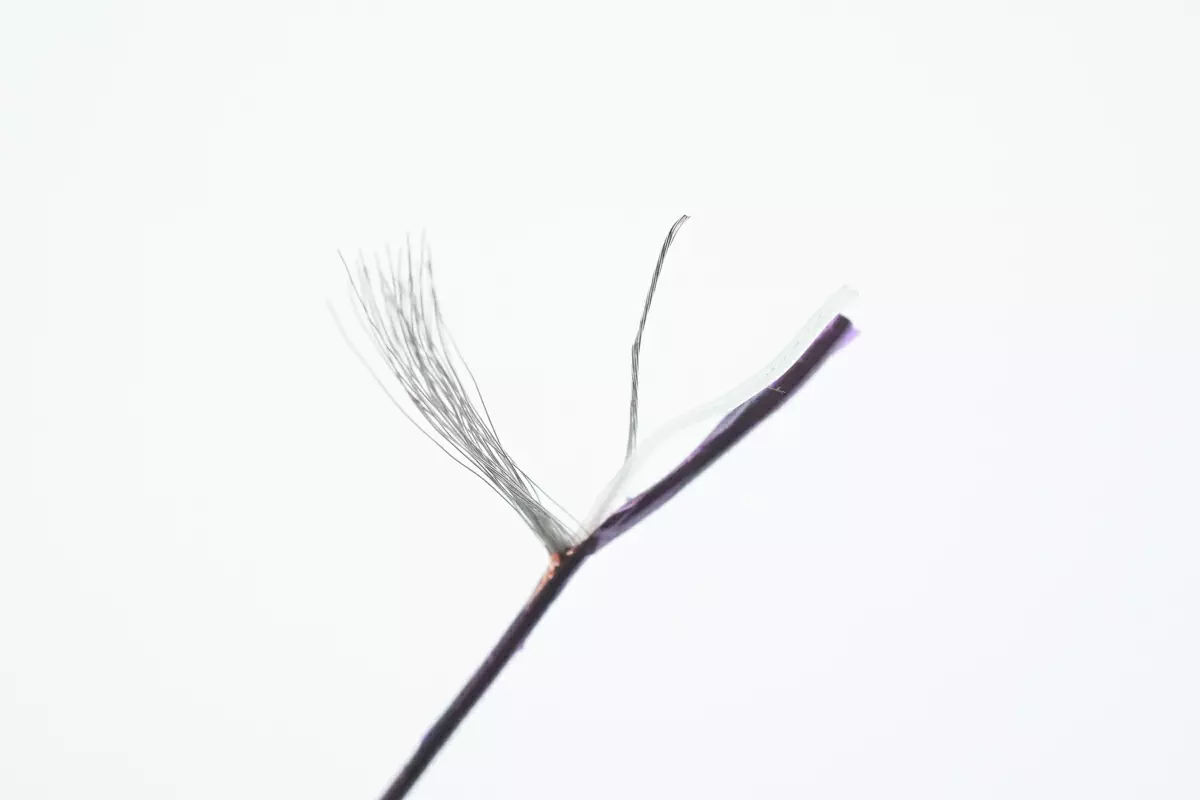
A close-up of the purple coaxial wire.
A close-up of the black coaxial wire.
A close-up of the white coaxial wire.
A close-up of the yellow coaxial wire.
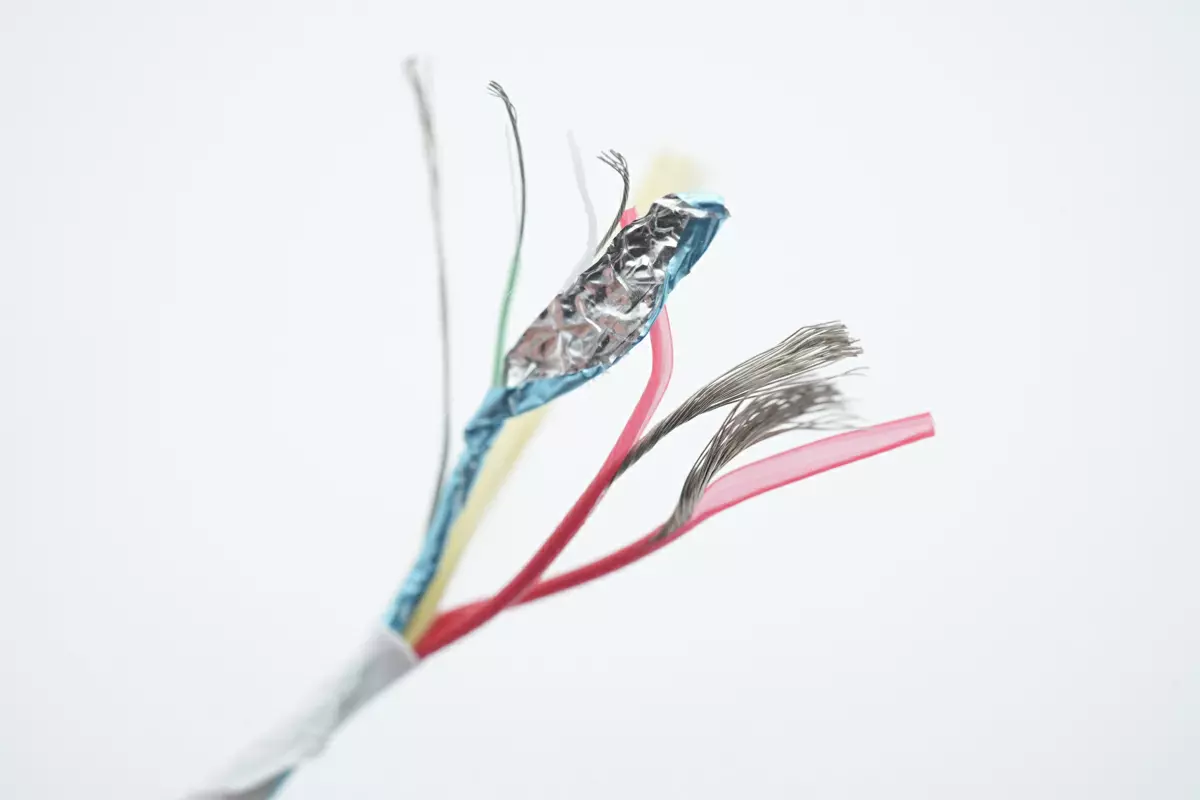
A close-up of the shielded wire used for USB 2.0 data transmission and the two red wires.
A close-up of the red wire without tensile fibers inside.
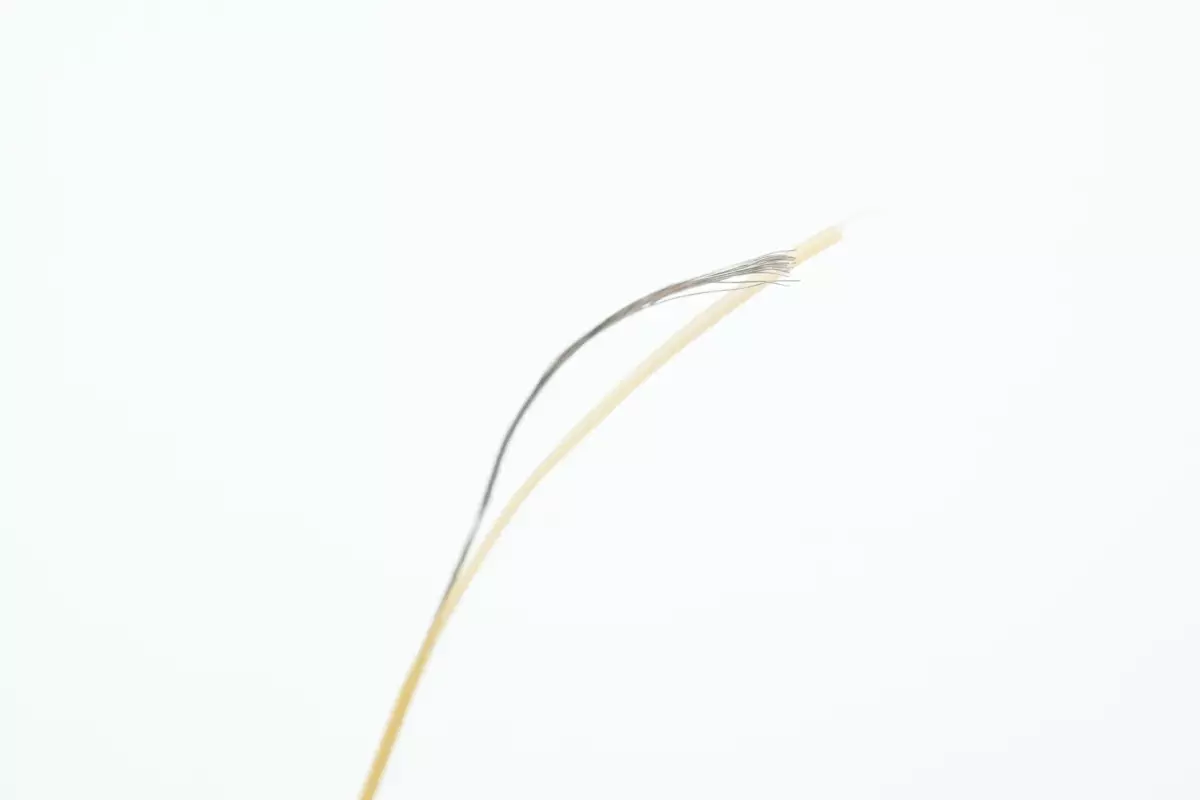
A close-up of the light yellow coaxial wire.
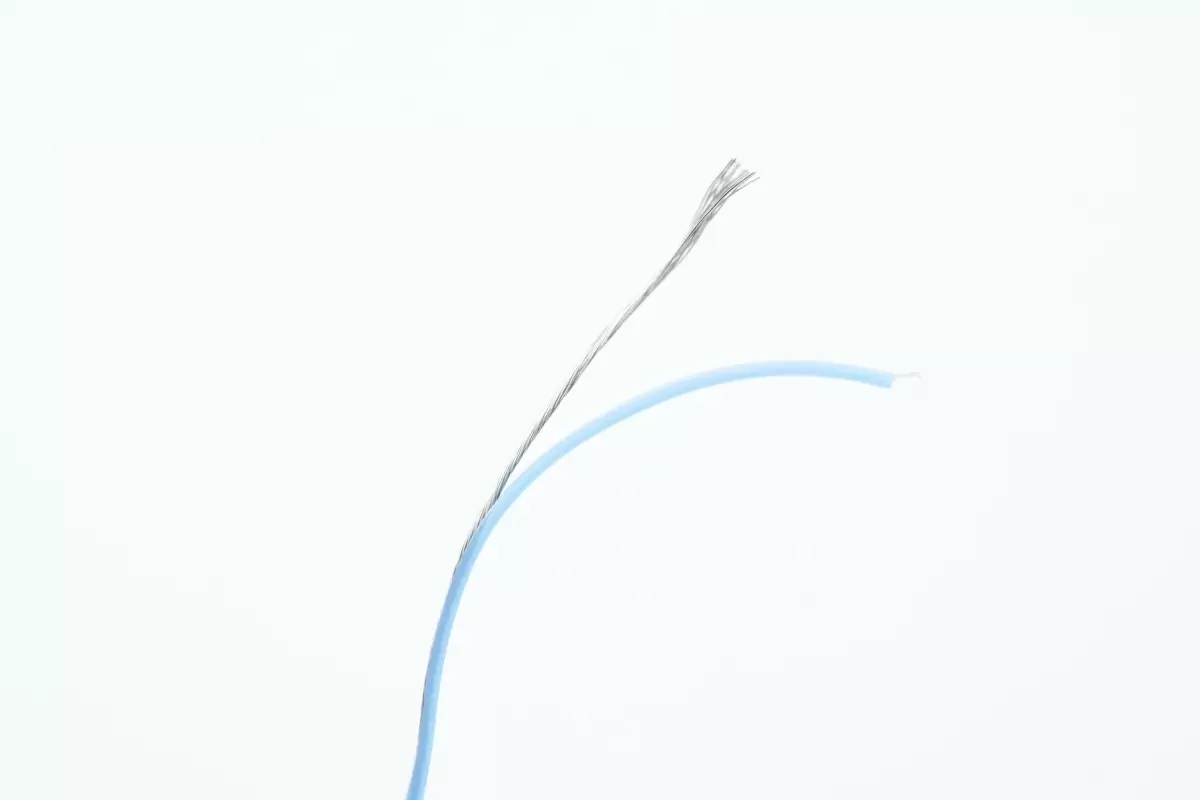
A close-up of the light blue coaxial wire.

A close-up of another black coaxial wire.
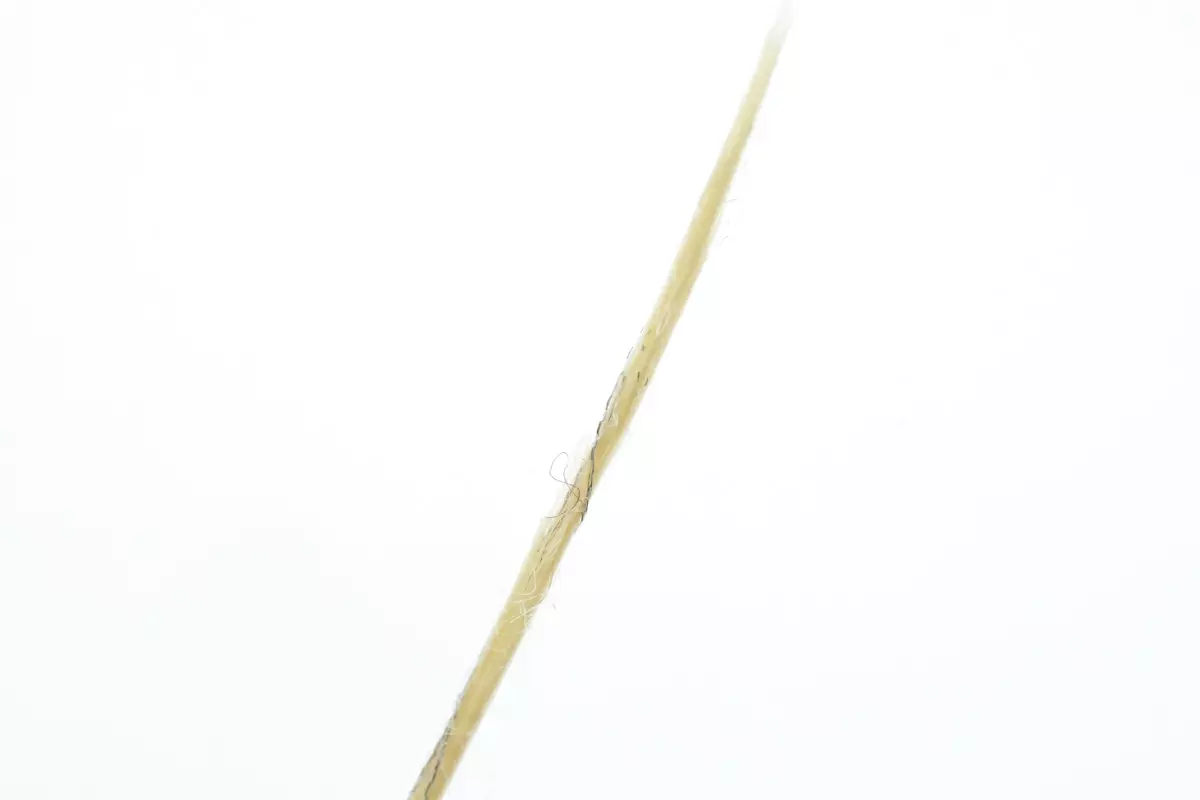
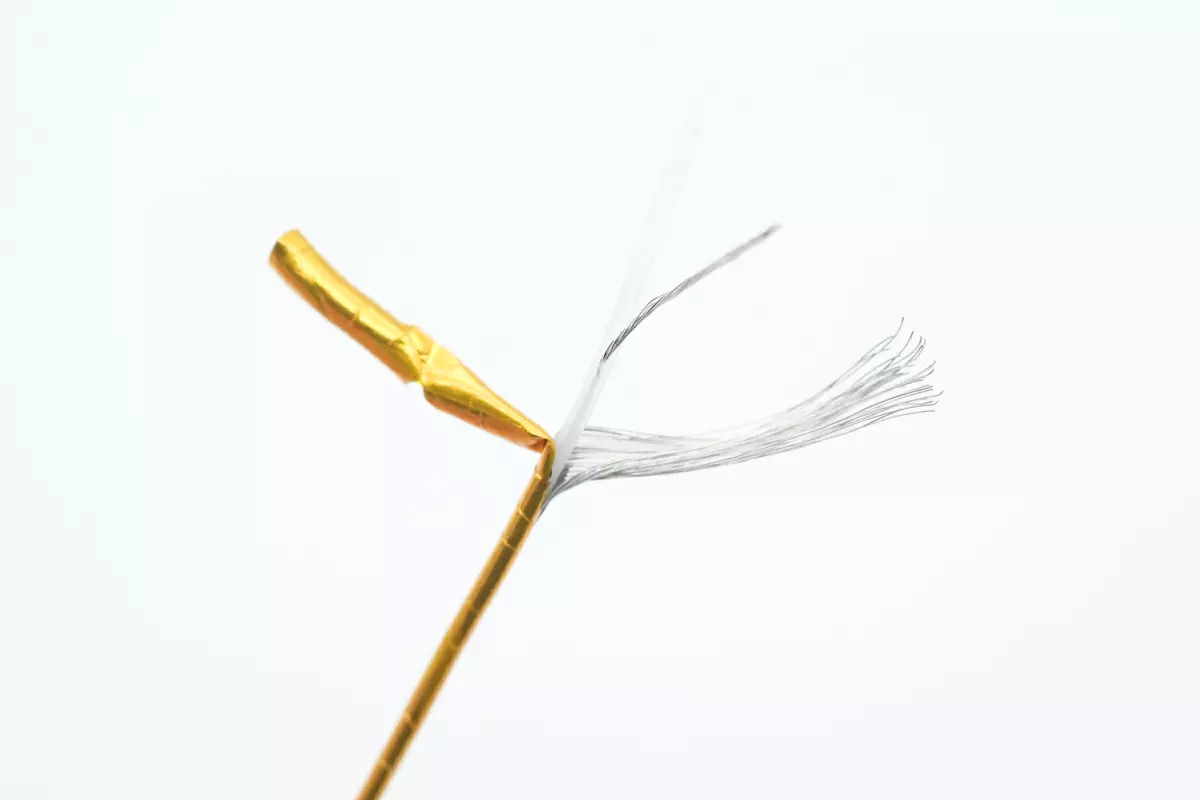
A close-up of the yellow tensile fibers inside the cable.
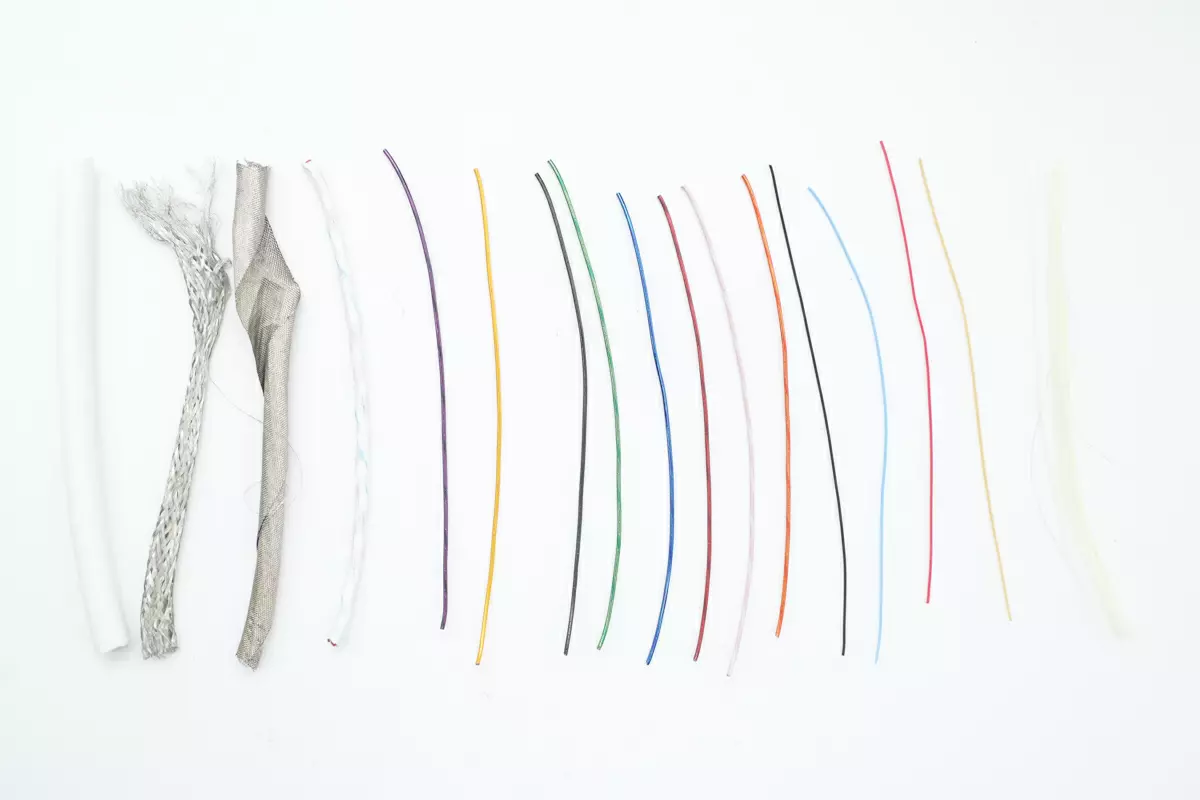
One last look at all the components of this DIY Thunderbolt 4 240W USB-C Cable.
Summary of ChargerLAB
The DIY Thunderbolt 4 240W USB-C Cable received by ChargerLAB is approximately 1m (3' 3.37'') long and has a white ultra-soft silicone outer design, which has heat-shrinkable properties, high-temperature resistance, corrosion resistance, and self-repairing ability. The cable supports 240W fast charging and 40Gbps transmission rate, which meets the requirements for future use. The cable uses metal connector, which has high strength and is not easily damaged during daily use, resulting in a longer lifespan.
After the tearown, we learn that it also has four pairs of coaxial cables inside with good insulation performance. The clip-on ferrite magnetic ring in the middle of the cable can greatly enhance its anti-interference performance.
Related Articles:
1. Teardown of Apple Thunderbolt 4 Pro Cable (1.8 m)
2. New Rating Logo | Teardown of Baseus 240W USB-C Cable
3. Teardown of 240W "DIY" Thunderbolt 4 USB-C Cable (Video)